ProtoPie 101 Crash Course | ProtoPie School
After completing the first half of the ProtoPie Crash Course, I was motivated to dive into the second half because of the quick learning and skills I had already gained in the first part of the course. With three more lessons this time about advanced techniques, I gained a deeper understanding of ProtoPie’s capabilities. The content this time was Conditional Logic and Triggers, Variables and Functions & a Wrap Up to summarise and review all the learning from the whole course.
Lesson 4: Conditional Logic and Triggers
The fourth lesson introduced me to conditional logic and advanced triggers. These features allowed me to create interactions that responded intelligently to user inputs. This was a significant step up from the basic interactions we learned earlier.
Conditional Logic
We started by creating a password validation interaction using conditionals. This exercise showed me how to add logic to prototypes without needing to write a single line of code. By setting conditions, I was able to create a prototype that checked whether a password met specific criteria and provided real-time feedback to the user.
Chain and Range Triggers
Next, we explored the Chain Trigger, which is used for creating navigation aids. I designed an interaction where tapping on different sections of a menu smoothly scrolled to the corresponding part of the page. The Range Trigger was another great too which I used to create an auto-play video carousel that responded dynamically as the user scrolled. Both triggers added a new layer of sophistication to my prototypes.
Lesson 5: Variables, Functions, and Components
The fifth lesson was all about harnessing the full power of ProtoPie by using variables, functions, and components. These features gave me access to the possibilities of creating complex, yet manageable, prototypes.
Variables and Functions
I started by learning how to use variables and formulas to store and manipulate data within a prototype. This was a game-changer for me, as it allowed for dynamic interactions. For example, I created a camera focus point interaction where users could tap anywhere on the screen to adjust the focus dynamically. Using variables made the interaction feel incredibly realistic.
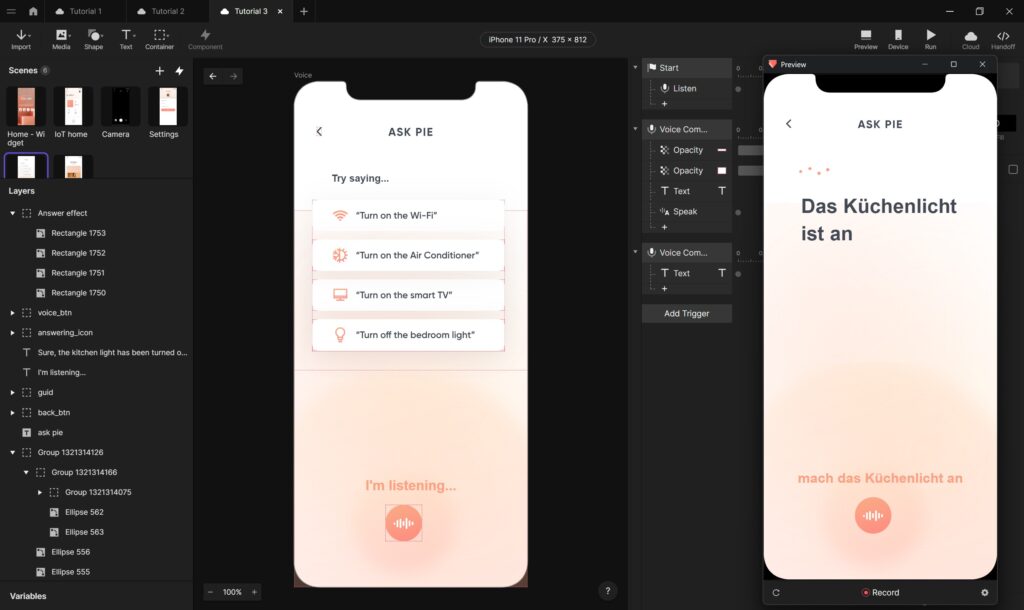
Custom Greetings and Smart Light Control
Next, I built a customized greeting interaction that displayed the user’s name based on their input. This feature demonstrated how ProtoPie could personalize experiences. We also designed a smart light control prototype where users could adjust the brightness and color of a light bulb. This exercise showcased how ProtoPie could simulate IoT interactions effectively.
Multi-Screen Smart Home Control
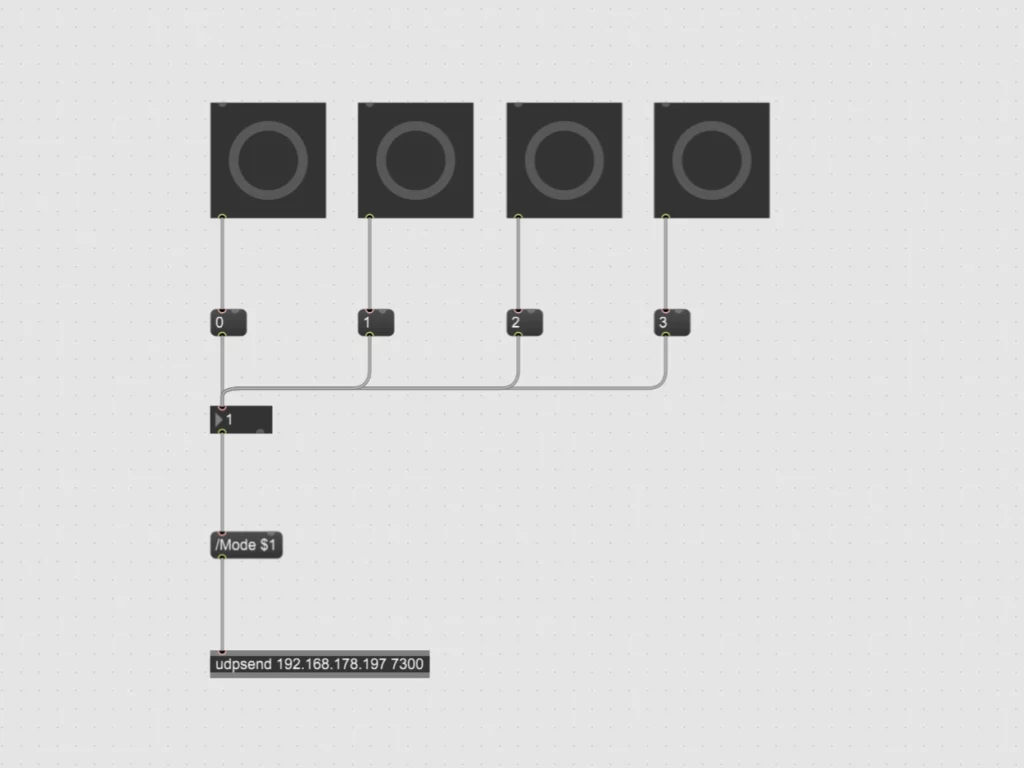
The highlight of this lesson was creating a multi-screen smart home control interface. By using components and the Send & Receive feature, we linked multiple screens together seamlessly. This exercise emphasized the importance of reusability and organization in prototyping complex systems.
Lesson 6: Wrapping Up and Moving Forward
The final lesson was a wrap-up session that consolidated everything we had learned throughout the course. It included a knowledge exam, which tested our understanding of ProtoPie’s features. I was happy to pass the exam and receive my certificate of the crash course in Protopie.
Helpful Resources
Before the course ended, we were provided with a lot of resources to continue our ProtoPie journey. These included detailed documentation, community forums, and example projects. Knowing that I have these resources to look up gives me confidence to tackle even the most challenging prototyping tasks in the future.

Reflections
The second half of the ProtoPie crash course, like the first, was interesting and full of useful skills and possibilities for future prototypes. It opened my mind to not only think about how to design interactions that are both functional and intuitive, but also that I am now able to test and prototype them myself. The hands-on exercises, as in the first part, allowed me to experiment with the more advanced features and gain practical experience, which, as I said before, is the only way I really learn, by trying things and doing them. By the end of the course, I felt equipped to create prototypes that go beyond static designs and truly mimic real-world interactions. Because ProtoPie’s is so easy to use, I think it will be my go-to tool for prototyping. It is also a good element for my Master’s thesis, in which I plan to connect the analogue and digital worlds in a calmer way by creating new ways of interacting between them. As I plan to build and test a physical prototype in the thesis, I will most likely need some sort of digital layer, which I now feel able to realise, or at least build a mock-up of.