Blender 02 | Blender vs Zbrush

Generel:
ZBrush bietet ein mehrsprachiges System, was es Benutzern ermöglicht, die Sprache anzupassen, während Blender auf Python3 basiert, was das Schreiben von Add-ons und das Rigging von Charakteren für Animationen erleichtert. ZBrush wird oft in großen Studio-Produktionen verwendet, um fotorealistische und produktionstaugliche Skulpturen zu erstellen. Blender ist dagegen ideal für kleinere Studios und Projekte wie Kurzfilme, TV-Serien und Werbespots. Einige Funktionen sind in beiden Programmen ähnlich, aber unterschiedlich benannt, wie z.B. Z-Intensity (U) in ZBrush und Strength (Shift+F) in Blender. Die Blender-Community bietet großen Support, was den Einstieg erleichtert, während ZBrush durch spezialisierte Tools für hochwertige Outputs bekannt ist.

Blender:
Blender hat den Nachteil, dass viele Funktionen, wie bestimmte Exporteinstellungen, die man in anderen Programmen mit Drittanbieter-Erweiterungen ergänzen kann, hier nicht verfügbar sind. Kleinere Sculpting-Projekte mit geringer Polygonanzahl sind jedoch ideal für Blender. Das Programm bietet ein Data-Block-Menü, Radial Control sowie Anpassungsoptionen für das Erscheinungsbild. Um Konzepte beim Sculpting in Blender zu skizzieren, kann Dyntopo verwendet werden, wodurch das Mesh in Teile unterteilt und verschiedene Ebenen genutzt werden können, um den Prozess zu beschleunigen. Blender läuft auf Systemen wie Linux, FreeBSD, macOS und Windows.

ZBrush:
ZBrush ermöglicht den Export von Modellen oder Exporteinstellungen zur Nutzung in anderen Programmen oder mit Drittanbieter-Erweiterungen. Es kann Polycounts verarbeiten, die 10- bis 50-mal höher sind als die von Blender. ZBrush bietet eine viel größere Auswahl an Werkzeugen und Pinseln sowie leistungsstarke Funktionen wie Dynamesh, zRemesher und das neue Sculptris Pro. Das Programm läuft auf Windows und OS X.

Fazit:
Blender eignet sich für Nutzer, die ein vielseitiges, kostenloses 3D-Programm suchen. ZBrush ist perfekt für Fortgeschrittene oder Personen, die detaillierte Skulpturen erstellen und spezialisierte Werkzeuge vor allem für Sculpting nutzen möchten. Die Wahl hängt natürlich von den spezifischen Bedürfnissen ab. Aus meinen Erfahrungen ist Sculpting etwas leichter und intuitiver mit ZBrush, man kommt aber auch in Blender nach etwas Übung rein.

Quelle: https://www.blender.org/, https://www.maxon.net/en/zbrush, https://www.educba.com/zbrush-vs-blender/
Blender 01 | Konzept und Idee

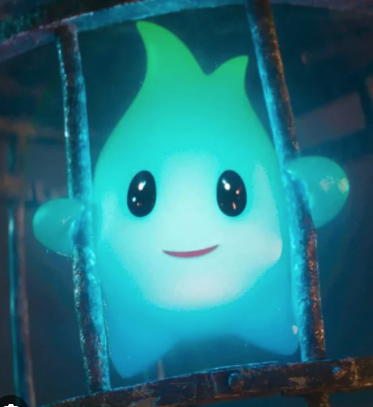
Für dieses Projekt wollte ich meine Blender Skills etwas ausarbeiten und eine kleine Animation gestalten. Die Inspiration dafür ist das Lumalee aus dem Super Mario Film, dass in der Kerker Szene im Käfig zu sehen ist. Für meine eigene Adaption wollte ich eine innere Flamme gestalten, die quasi die Gefühle und Emotionen einer Person repräsentieren und für mein Projekt der Masterarbeit eine Übung ist. Aus der inneren Flamme ist in diesem Prozess ein Charakter entstanden, der einem Stern ähnlich sieht.

Meine Herangehensweise für diese Projekt habe ich in die unterstehenden Teile aufgelistet, damit möchte ich mir jeden Part in Blender etwas näher anschauen. Aus meinem Bachelor haben wir mit zwei ähnlichen Programmen gearbeitet und ebenfalls einen Charakter modelliert, allerdings war dieser sehr menschenähnlich und wurde nicht wirklich animiert. Ich möchte mich in Zukunft auch mehr mit dem Programm auseinandersetzen und dazu ist dieses Projekt perfekt zum Ausprobieren. 

Einteilung

  • 01 Kozept und Idee
  • 02 Blender vs ZBrush
  • 03 Modelling & Sculpting
  • 04 Rigging
  • 05 Fly Cycle Stand Animation
  • 06 Fly Cycle Animation
  • 07 Material & Scene
  • 08 Kamera
  • 09 Render
  • 10 Fazit

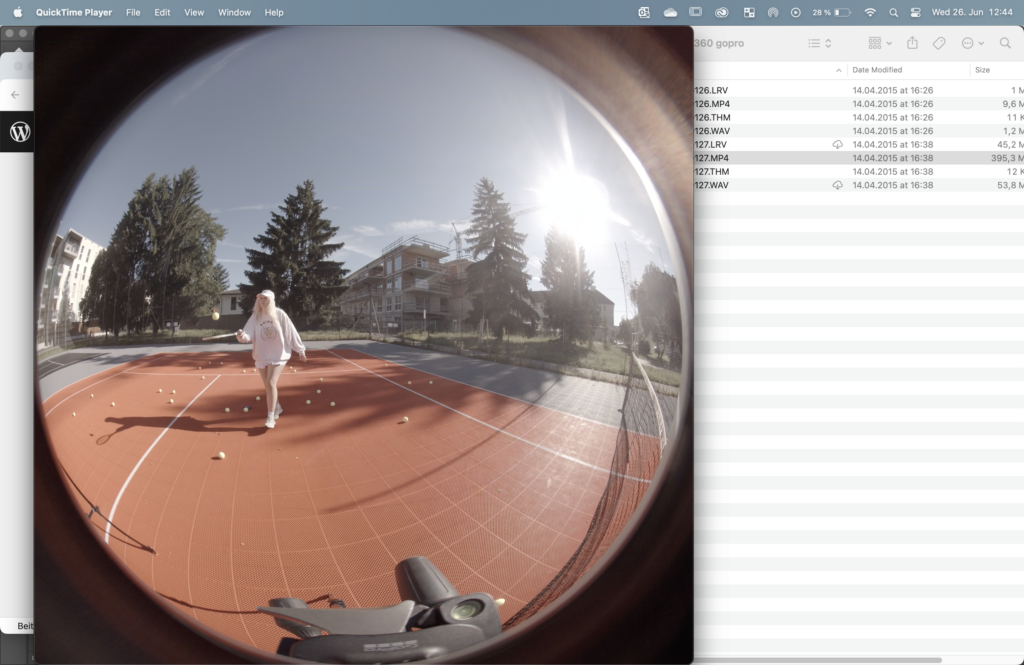
Episode #6 from the series: New things I learned this semester – 360 GoPro HDR

Creating HDR images using a GoPro Max 360 camera can significantly elevate the lighting quality in Blender projects, enhancing realism and immersion. The GoPro Max, known for its ability to capture panoramic views, allows you to create HDR images by taking multiple bracketed photos at different exposure levels.

To start, set up your GoPro Max on a stable tripod in the desired location. Unlike some cameras, the GoPro Max doesn’t have a built-in HDR bracketing mode, so you’ll need to manually adjust exposure settings. Take a series of photos varying from underexposed to overexposed, ensuring you capture the full range of light in your scene.

Once you’ve captured your bracketed photos, transfer them to your computer for processing. Use HDR software such as Adobe Photoshop, Photomatix, or Luminance HDR to merge these photos into a single HDR image. This process involves aligning the photos to compensate for any slight movement during the capture, then merging them to retain details across both the darkest shadows and brightest highlights.

After merging, adjust the tone mapping settings in your HDR software to fine-tune the appearance of the HDR image. This step ensures that your HDR image looks natural and realistic, maintaining a balance between light and dark areas.

Save the final HDR image in a format compatible with Blender, such as .hdr or .exr, to preserve its high dynamic range properties. In Blender, use the HDR image as an environment texture in the World settings. This allows the HDR to influence the lighting and reflections in your 3D scenes, enhancing their visual fidelity and realism.

By utilizing HDR images captured with a GoPro Max 360 camera, you can achieve sophisticated lighting effects in Blender, making your renders more dynamic and true-to-life.

Episode #5 from the series: New things I learned this semester – HDRs

HDRs, or High Dynamic Range images, are a special kind of image that can capture a wider range of light and dark details than regular images. Imagine taking a photo where you can see the bright sky and the dark shadows under a tree without losing detail in either area—that’s what HDR can do. These images are especially useful in 3D modeling and animation in programs like Blender because they can create very realistic lighting and reflections.

An HDR image is made by combining several photos of the same scene taken at different exposures. This means you take some photos that are very bright, some that are very dark, and some in between. When you merge these photos together, you get an image that captures the best details from all the different exposures, resulting in a picture that looks much more like what your eyes see in real life.

Creating HDRs for Blender

Here’s a step-by-step guide on how you can create HDR images for Blender:

  1. Take the Photos:
    • Set Up Your Camera: Use a camera that allows you to take multiple shots with different exposure settings. A tripod is essential to keep the camera steady and ensure all the photos align perfectly.
    • Bracket Your Shots: Capture a series of photos, usually between 3 to 7, ranging from very underexposed (dark) to very overexposed (bright). This gives you the full range of light and shadow in the scene.
  2. Merge the Photos into an HDR Image:
    • Use HDR Software: Programs like Adobe Photoshop, Photomatix, or Luminance HDR can merge your bracketed photos into a single HDR image.
    • Align and Merge: Load your photos into the software, align them if necessary, and let the software merge them. You’ll get an image that keeps the details from all exposures.
    • Fine-Tune the Image: Adjust the tone mapping, contrast, and other settings in the software to make sure your HDR image looks natural and detailed.
  3. Save the HDR Image:
    • Choose the Right Format: Save your HDR image in a format that Blender supports, such as .hdr or .exr. These formats keep all the high dynamic range data intact.
  4. Use HDRs in Blender:
    • Open Blender: Go to the Shading workspace.
    • Add Environment Texture: In the World tab, add an Environment Texture node (Add > Texture > Environment Texture).
    • Load Your HDR: Connect the Environment Texture node to the Background node, click “Open,” and load your saved HDR image.
    • Adjust Settings: Play around with the strength and orientation to get the lighting just right in your scene.

Using HDR images in Blender can make a big difference in how realistic and vibrant your 3D scenes look. They provide rich lighting details that can bring your models to life, making them appear more dynamic and true-to-life.

Meine Learnings in 3D-Design

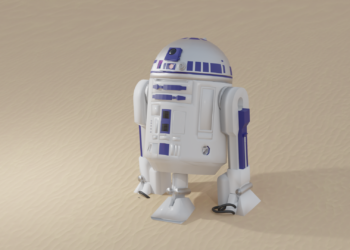
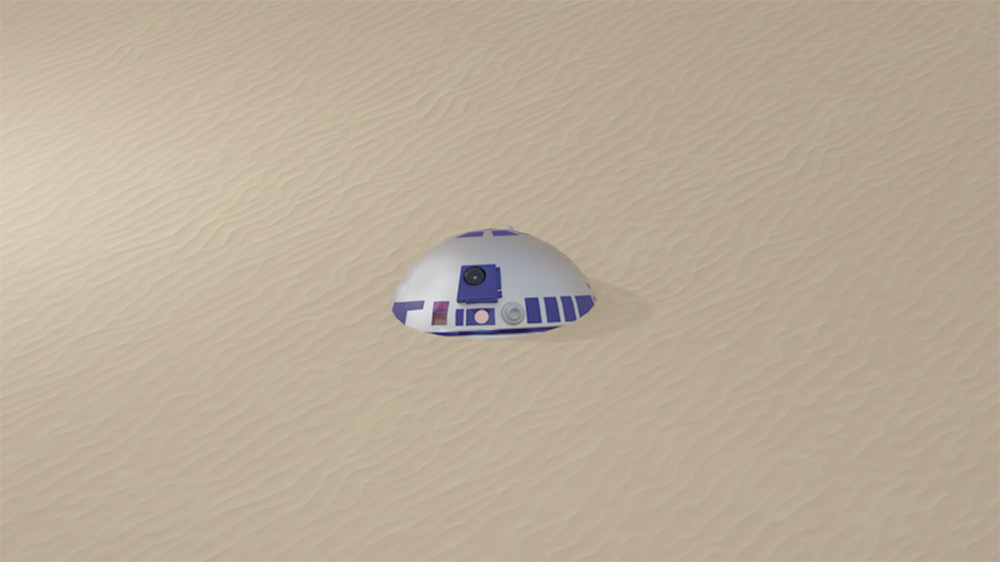
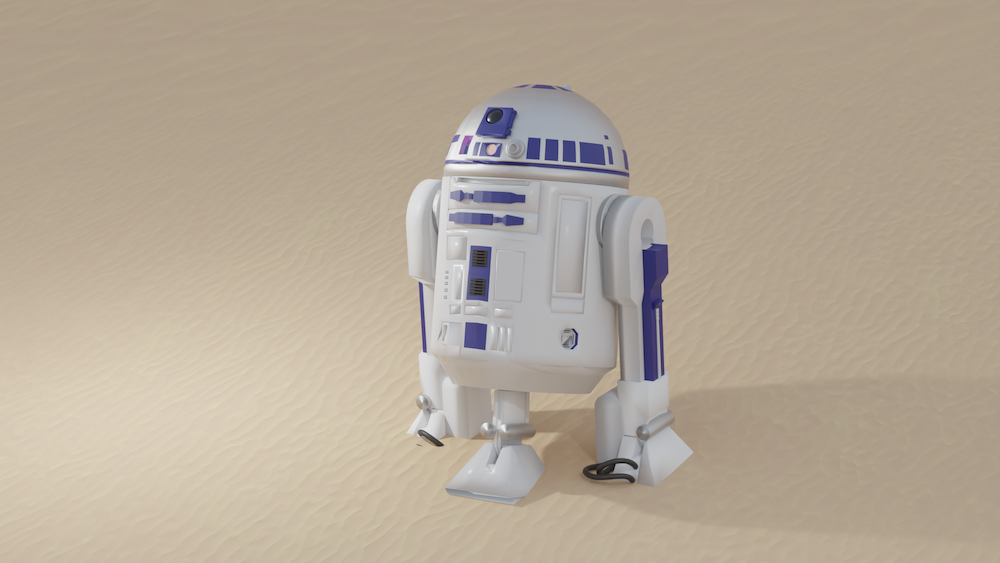
Für mein 3D-Projekt habe ich R2D2 in Blender gebaut. Ich habe sehr viel länger gebraucht, als es eigentlich notwendig wäre. Hier sind meine Fehler, Learnings und ein praktisches Gratistool:

Fehler zu Learnings

Ich bin viel zu spät draufgekommen, dass man wenn man zweimal „G“ drückt einen Schnitt verschieben kann, ohne seine Position so zu verändern, dass man die Shape zerstört. Das hätte mein Projekt sehr viel einfacher gemacht. Ich hätte die Achsen auch besser einstellen sollen, sodass ich leichter damit arbeiten hätte können. Zusätzlich ist es schwierig, wenn man wie ich sehr perfektionistisch ist. Dann fehlt einem am Ende die Zeit für Shading, Materials und Composition. Ich habe mich sehr in Details verloren, die kaum jemandem aufgefallen wären. Außerdem muss man nur ein bis zwei Seiten bauen, wenn man ein Foto abgibt. I learned that the hard way. 😅

Tipps

Was jedoch hilfreich war: ein Tutorial zwar offen haben, aber erst selbst Lösungen überlegen an statt jeden Schritt einfach nachzumachen. Ich habe erst nachgeschaut, wenn ich nicht weitergekommen bin. Das Wichtigste war es, sich zu überlegen, aus welchen Formen das Objekt besteht. Das habe ich bei jeder kleinen Ergänzung gemacht.

Zusammengefasst

  • Shortcuts lernen
  • Wenn etwas schwierig ist, dann gibt es wahrscheinlich eine bessere Methode
  • Nicht in Details verlieren
  • Mehr Zeit in Materials investieren
  • Überlegen, wie das Foto am Ende aussehen wird
  • Ohne 🖱️🐁 geht gar nichts

Was muss ich lernen, um effektiver zu arbeiten?

  • Lernen, wie man Seiten spiegelt
  • Lernen, welche Objekte, welches Shading brauchen.
  • Lernen, sich nicht in Details zu verlieren.

BONUS: Hilfreiches gratis Tool, dass ich für schnelle Materials verwendet habe:

// Einfach auf Download BlenderKit klicken. //

!! Aufpassen: gibt unterschiedliche Licenses für die Materialien !!