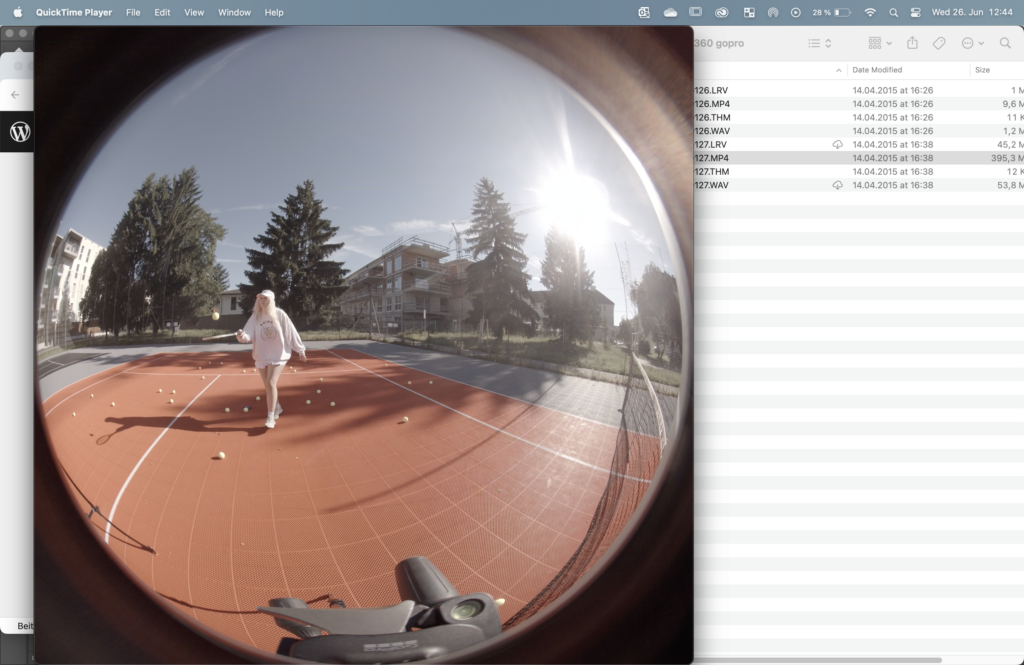
Creating HDR images using a GoPro Max 360 camera can significantly elevate the lighting quality in Blender projects, enhancing realism and immersion. The GoPro Max, known for its ability to capture panoramic views, allows you to create HDR images by taking multiple bracketed photos at different exposure levels.
To start, set up your GoPro Max on a stable tripod in the desired location. Unlike some cameras, the GoPro Max doesn’t have a built-in HDR bracketing mode, so you’ll need to manually adjust exposure settings. Take a series of photos varying from underexposed to overexposed, ensuring you capture the full range of light in your scene.
Once you’ve captured your bracketed photos, transfer them to your computer for processing. Use HDR software such as Adobe Photoshop, Photomatix, or Luminance HDR to merge these photos into a single HDR image. This process involves aligning the photos to compensate for any slight movement during the capture, then merging them to retain details across both the darkest shadows and brightest highlights.
After merging, adjust the tone mapping settings in your HDR software to fine-tune the appearance of the HDR image. This step ensures that your HDR image looks natural and realistic, maintaining a balance between light and dark areas.
Save the final HDR image in a format compatible with Blender, such as .hdr or .exr, to preserve its high dynamic range properties. In Blender, use the HDR image as an environment texture in the World settings. This allows the HDR to influence the lighting and reflections in your 3D scenes, enhancing their visual fidelity and realism.
By utilizing HDR images captured with a GoPro Max 360 camera, you can achieve sophisticated lighting effects in Blender, making your renders more dynamic and true-to-life.
