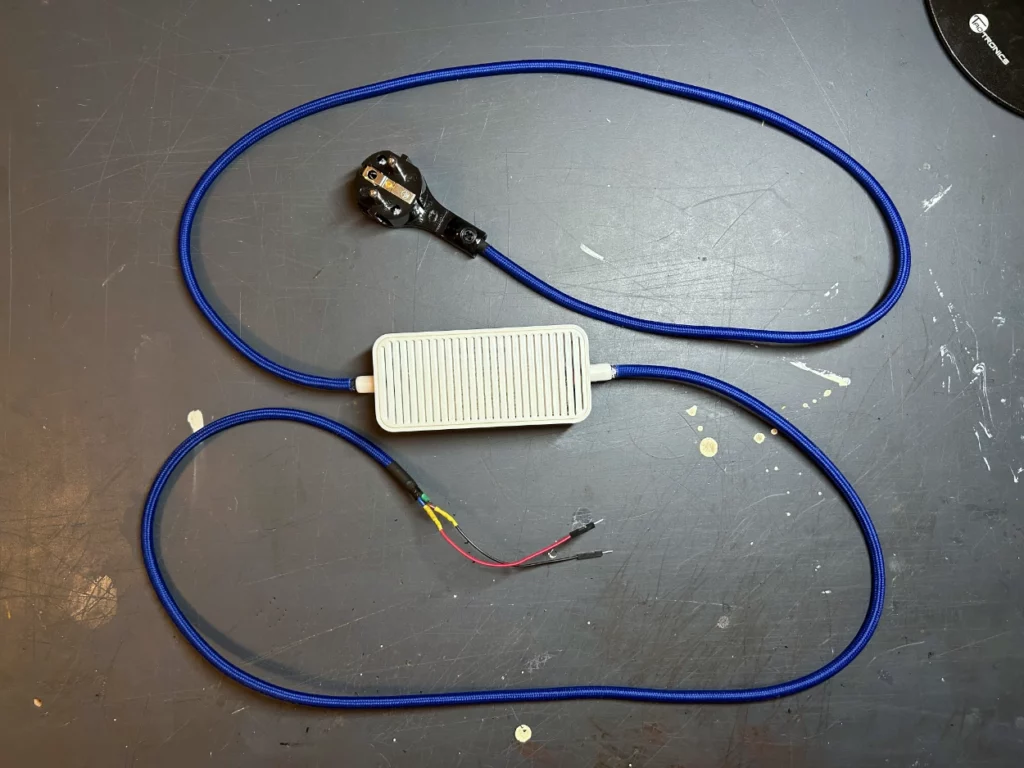
This week I tackled the problem of the power supply and decided to make a more polished prototype for it, as I do not expect any changes to this part of the project for the time being. This means that I want to enclose all the functional parts in housings and make it look like a normal power supply as used in household or consumer electronics.
Set-Up
To start with, I ordered a 240V to 12V transformer with a 2.5A output, which will give me a bit of headroom and also power the Wemos board. The rest of the set up consists of a textile power cord, some Arduinio wires, a plug, some shrink sleeves and my custom printed case for the transformer. As you can see in the picture below, there are two versions of my custom printed case. I would like to say it is an iteration, but it is because of a measurement error on my part and the first version is not usable. Which just goes to show that the old carpenter’s adage „measure twice, cut once“ also applies to 3D printing in rapid prototyping.

Assembly
I started by connecting the textile power cord to my custom case, and while the glue was drying on that end, I attached the plug to one side and the arduino wires for use in the breadboard to the other. I started by attaching the textile power cord to my custom housing, and while the glue was drying on that end, I attached the plug to one side and the arduino wires for use in the breadboard to the other. When that was done, I connected both ends of the cable to the transformer and fixed the transformer in its custom housing. The final result with the build together housing is shown in the picture below.


Now that the power supply is finished, the setup for controlling both motors at full power is complete. The next step will be to build a rough functional prototype capable of generating the movements needed for Tap.