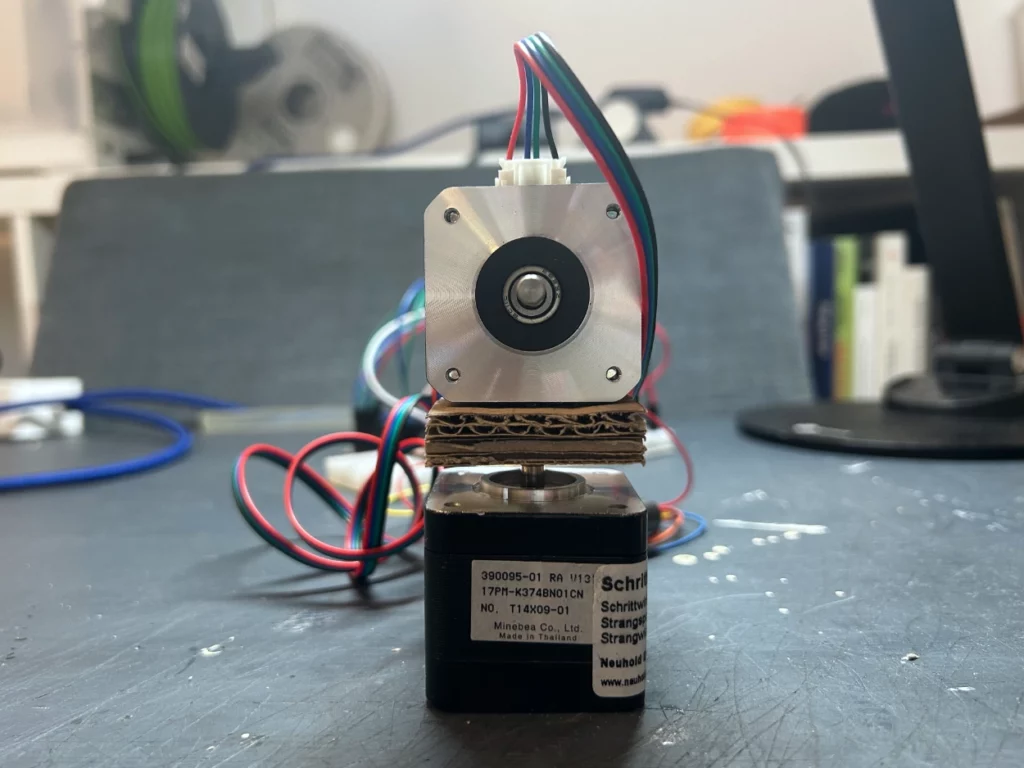
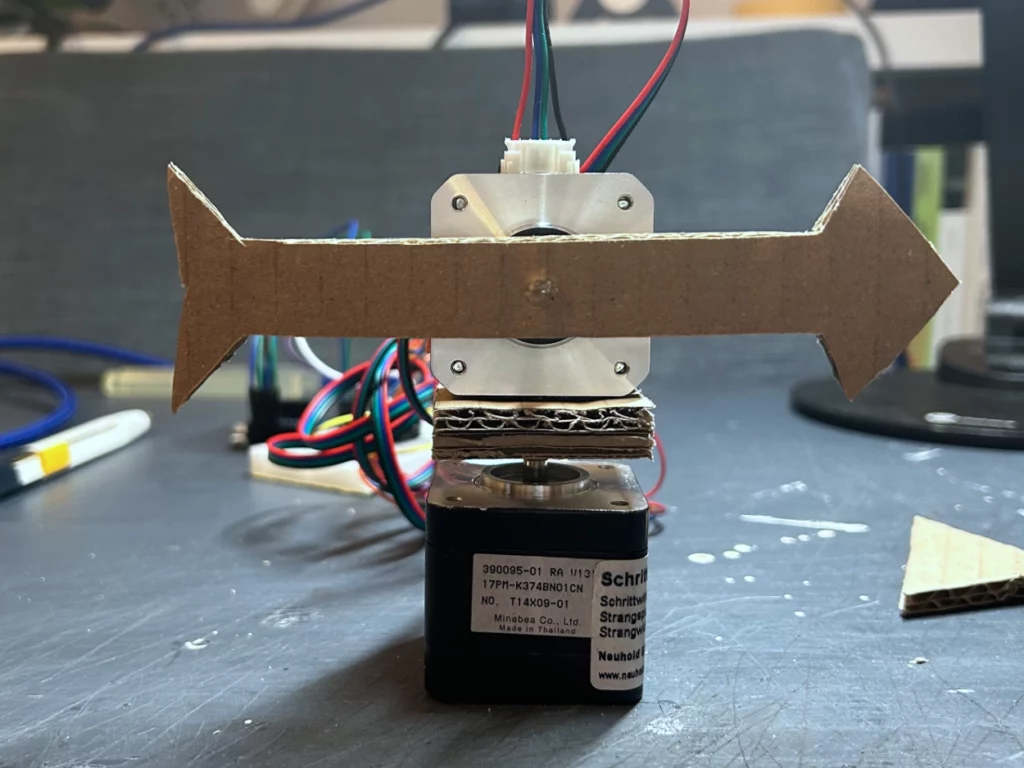
As mentioned in my last blog post, this time I decided to build a rough working prototype consisting of the two motors and some cardboard. To test if I could get the basic movements I wanted out of it.
Assembly
The first step was to build a cardboard base to act as a platform for the second motor. This base was then hot glued to the axle of the first or bottom motor. On top of the base, the second or top motor was attached to the base with its axle in a horizontal position rather than vertical. This arrangement allows the bottom motor to rotate the top motor around its own axis and the top motor to rotate the tapper.

The second step was to attach a temporary arrow-shaped tap to the upper motor shaft with some hot glue. The arrow shape was chosen so that it would be easier to see if it was turning in the right direction and the right amount. With this setup in place, I could now start writing Arduino code to control the two motors at the same time and give them a chosen motion.

Code
After trying out the sample scripts for rotating both motors from the earlier steps of my project. I started to create a basic script that would be my starting point for getting all the movements I wanted out of Tap. The idea was to make both motors rotate to a certain point and back individually at the same time, with as much control over speed and acceleration as possible. This would then be my starting point for scripting more advanced movements and gestures later in the project. After a lot of mistrails where my board kept crashing or the motors would only rotate one after the other and not at the same time, and some discussion with ChatGPT and the help of tutorials, I ended up with the script below which achieves exactly what I wanted and needed.
#include <AccelStepper.h>

#define motorInterfaceType 1

// Define the stepper motor and the pins that is connected to // (STEP, DIR)
AccelStepper stepper1(motorInterfaceType, D5, D6);
AccelStepper stepper2(motorInterfaceType, D7, D8);

// Set the target positions for both steppers
int targetPosition1 = 200;
int targetPosition2 = 25;


///////////////////////////////////////////////////////////////////////////////////////////////////////////


void setup() {

  Serial.begin(9600);

  // Settings for Motor 1
  stepper1.setMaxSpeed(250);
  stepper1.setAcceleration(150);
  stepper1.setCurrentPosition(0);

  // Settings for Motor 2
  stepper2.setMaxSpeed(1000);
  stepper2.setAcceleration(500);
  stepper2.setCurrentPosition(0);


}


///////////////////////////////////////////////////////////////////////////////////////////////////////////


void loop() {

  // Move stepper1 towards their target positions
  stepper1.moveTo(targetPosition1);
  stepper1.run();

  // Move stepper2 towards their target positions
  stepper2.moveTo(targetPosition2);
  stepper2.run();

  // Check if stepper1 have reached their target positions
  if (stepper1.distanceToGo() == 0) {
    // Update target positions for next movement
    targetPosition1 = (targetPosition1 == 0) ? 200 : 0;
  }

  // Check if stepper2 have reached their target positions
  if (stepper2.distanceToGo() == 0) {
    // Update target positions for next movement
    targetPosition2 = (targetPosition2 == -25) ? 25 : -25;
  }

}
Outcome
Now that the rotation and base setup is working, the next step will be to script a more defined movement or gesture for the motors to perform, and then trigger it with an OSC message from an interface on my laptop.