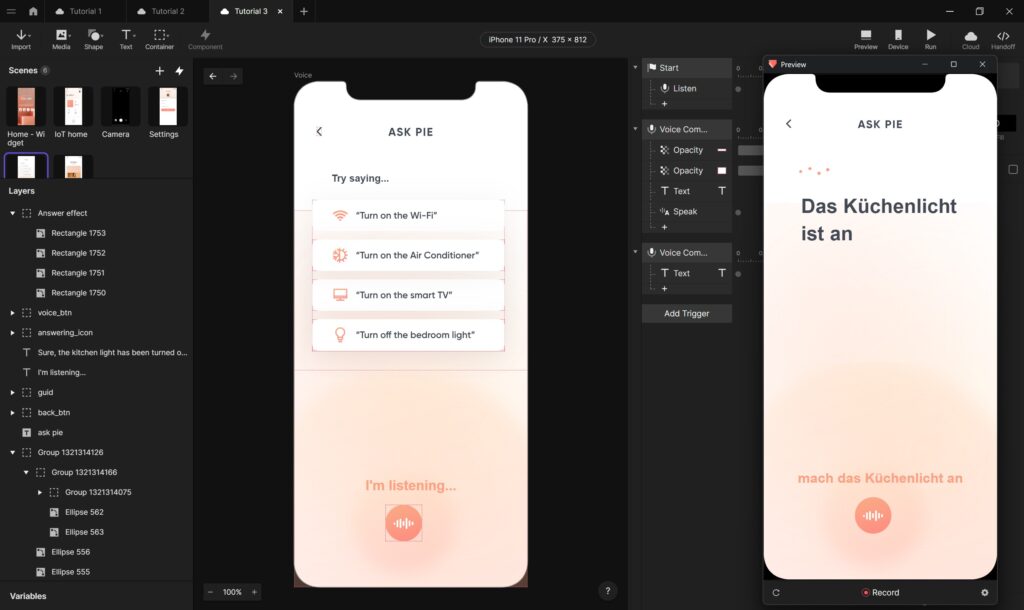
After completing the first part of the ProtoPie 101 Crash Course, I was excited to continue my learning journey. Unit 2 focuses on creating micro-interactions, covering three key topics:
- Screen transitions
- Scrolling & paging
- Slide menus
The pace of the training picked up in this section, making it more engaging but also requiring more attention. Here are my takeaways from each topic.
Screen transitions
Trying out different transition types was interesting, and I particularly liked the smart transition, which is similar to Figma’s Smart Animate. It enables smooth custom transitions between two states as long as elements share the same name across scenes. Since this is a familiar concept for many designers, it makes ProtoPie feel intuitive right from the start.
A notable feature is the ability to add the system status bar of a specific smartphone frame without manually inserting it as a layer. This helps maintain consistent states and transitions between screens.
However, one limitation became clear: all transitions happen simultaneously without the ability to sequence animations. Thankfully, there’s a workaround. By animating elements first and then applying a smart transition, we can control the animation order. The instructor demonstrated using scale and move responses first before adding the transition.
Another useful feature introduced in this section was the reorder response, which allows changing the stacking order of layers. The four reorder options include:
- Move forward one in the stack
- Move backward one in the stack
- Move to the top
- Move to the bottom
Finally, adding a jump response enables smooth transitions between scenes. Once all responses are added, they can be sequenced independently in the timeline, making animations more dynamic and structured.
Three ways to do a screen transition:
- Built-in transitions
- Custom smart transitions
- Animating elements before applying a transition
Scrolling & paging
The crash course provided well-prepared pre-made material, which made following much easier.
A container is used to basically mask a scrollable area. Any container can be turned into a scrolling container, with three scrolling options:
- Scroll (continuous movement in a direction)
- Paging (stepwise scrolling)
- None (no scrolling enabled)
Interestingly, the container tool is a standalone tool in the toolbar. The direction of scrolling can be set to vertical or horizontal and overscroll effects can be enabled or disabled. The process was extremely simple and intuitive!
Paging and carousel elements
With paging, it’s possible to position carousel elements stepwise in the center of the screen while scrolling horizontally. However, one issue emerged: the last item aligns with the screen’s edge instead of stopping at the center. To fix this, an invisible rectangle can be added at the end to create spacing. Initially, I thought this method is not elegant, but just moments later, the instructor introduced a better alternative – adjusting the properties panel. It’s great to see that ProtoPie anticipates these usability needs!
Constraints in containers
This was a short but important topic. By default, containers are anchored to the top-left corner and elements inside do not resize automatically. However, deselecting fixed height or width allows elements to resize proportionally. This feature is super useful for responsive design.
Three ways to create slide menus
As the instructor pointed out, there are multiple ways to achieve the same effect in ProtoPie. For slide menus, three trigger types can be used: drag, pull, and fling.
1. Fling trigger
The fling trigger was applied to a side menu layer, using a move response to shift it into view. However, there was a problem – the sidebar was off-screen, making it unclickable.
To fix this, the fling trigger can be applied to any visible object, affecting the sidebar indirectly. A better approach is to add a touch area, extending the interactive zone without requiring invisible layers. This is a clever and efficient way to improve usability!
To close the menu, a second fling trigger with a move response can be used or a reset response (as seen in Unit 1). One downside is that the trigger must fully complete before the menu moves, which feels slightly unnatural from a user perspective.
2. Pull trigger
The pull trigger works differently – it’s based on distance pulled rather than absolute position. This means the menu moves in sync with the user’s finger, making it a more intuitive way to implement slide menus. Additionally, when released, the menu will automatically snap open or closed based on its position.
The instructor also mentioned that the pull trigger is perfect for pull-to-refresh interactions, which is great to know!
3. Drag trigger
The drag trigger behaves similarly to fling but requires a move response. By default, dragging moves the object in any direction, but setting it to horizontal-only in the properties panel restricts movement.
A potential issue: Users can drag beyond the intended position. To fix this, custom limits can be set in the properties panel. However, the menu still doesn’t snap closed by itself.
To fix this, we use a touch-up trigger combined with a condition response. This allows defining a threshold – if the menu is more than 50% open, it stays open; otherwise, it snaps closed. Constraints make interactions much more flexible!
Further learning
At the end of this unit, the course provided additional tutorials showcasing what’s possible with ProtoPie. These examples were inspiring and raised my interest of advanced interactions. The unit concluded with another knowledge test, reinforcing the learning experience.
Conclusion
Completing Unit 2 of the ProtoPie 101 Crash Course was an exciting and rewarding experience. The structured approach made even complex interactions easy to follow and I now feel confident in creating sophisticated micro-interactions.
ProtoPie’s approach to prototyping continues to impress me – especially its flexibility, intuitive design and developer-friendly handoff process. I’m eager to continue learning and exploring more advanced features in the upcoming units.
Resources
https://learn.protopie.io/start


