Although I initially planned to delve deeper into various forms of data visualization in TouchDesigner, I decided to postpone that. Instead, I set out to connect a controller to the software. Why? Because I want to create an interactive experience, currently focusing on data visualization. For this, a user input method is necessary, which ultimately makes the experience interactive.
The Controller
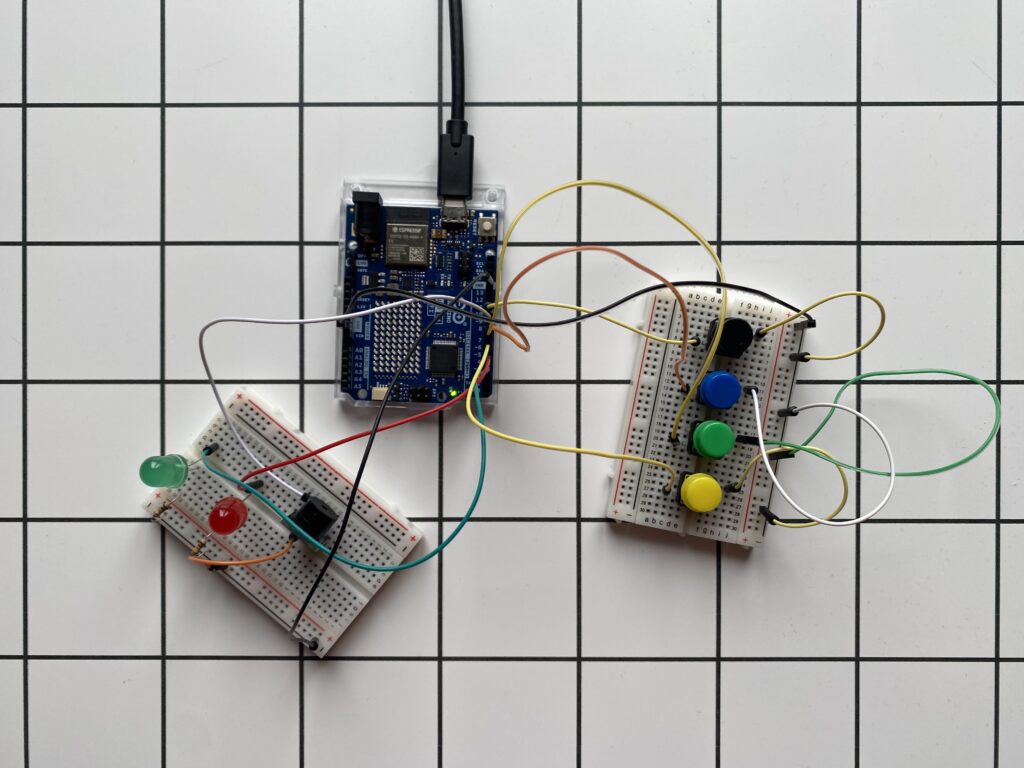
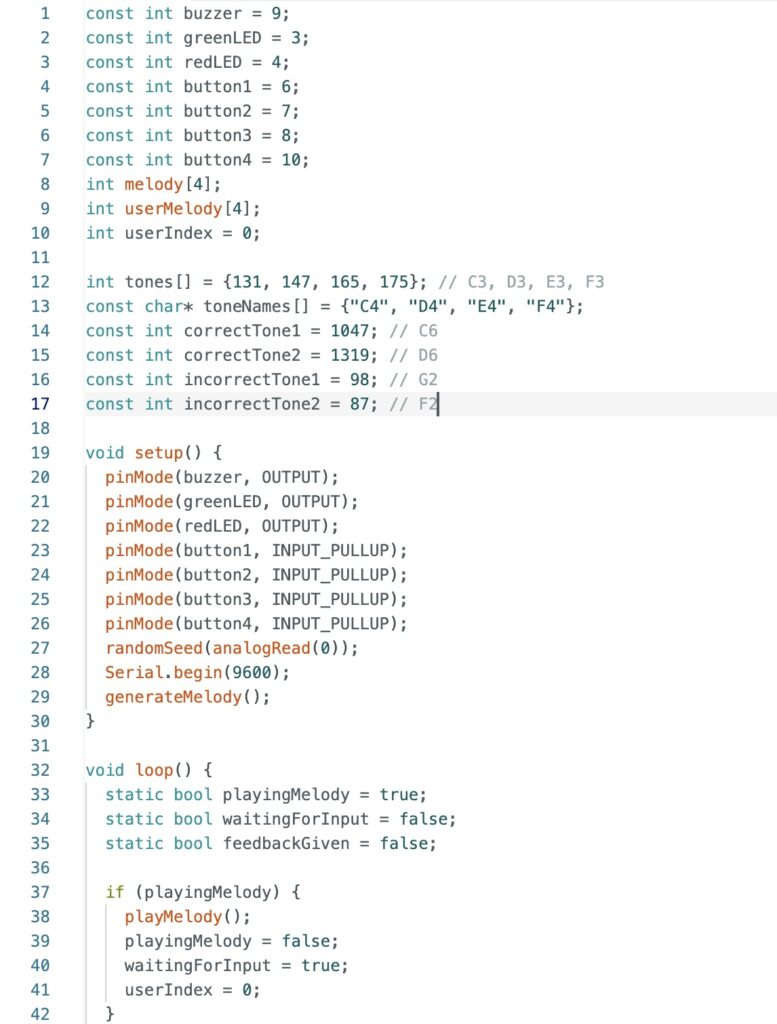
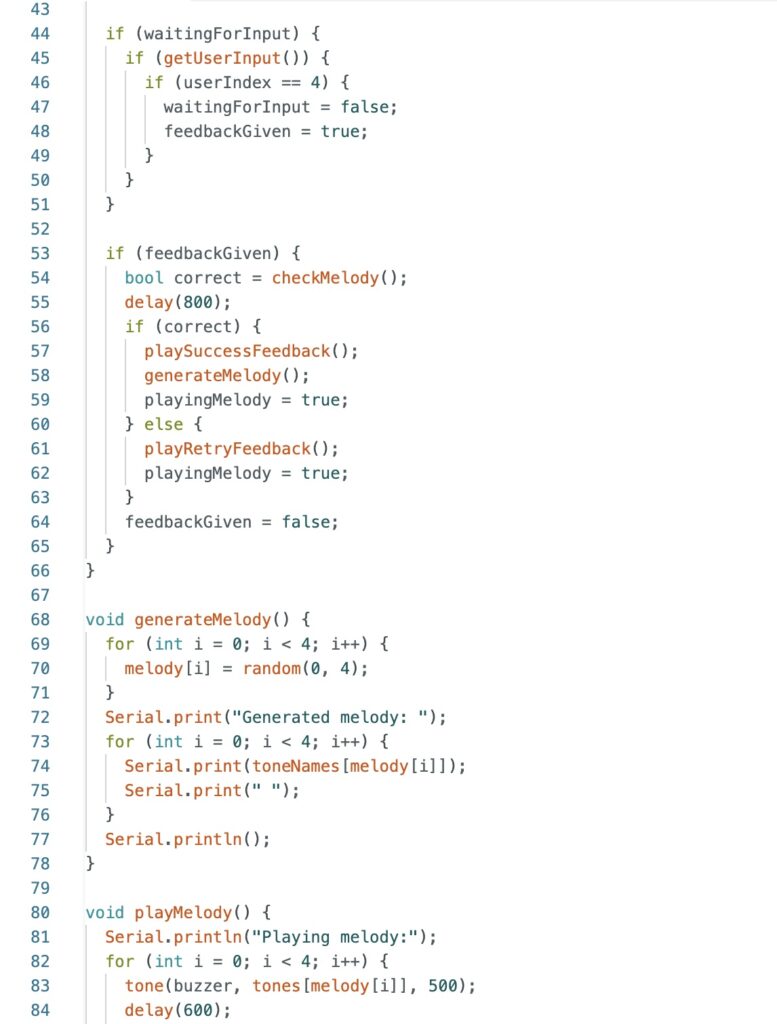
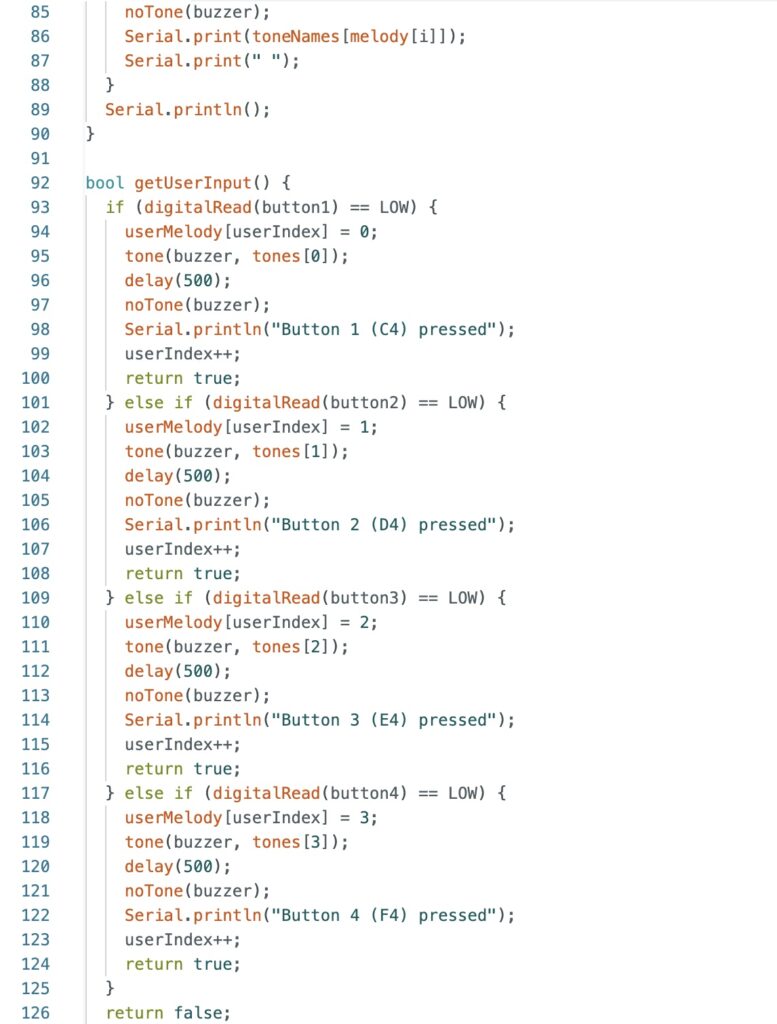
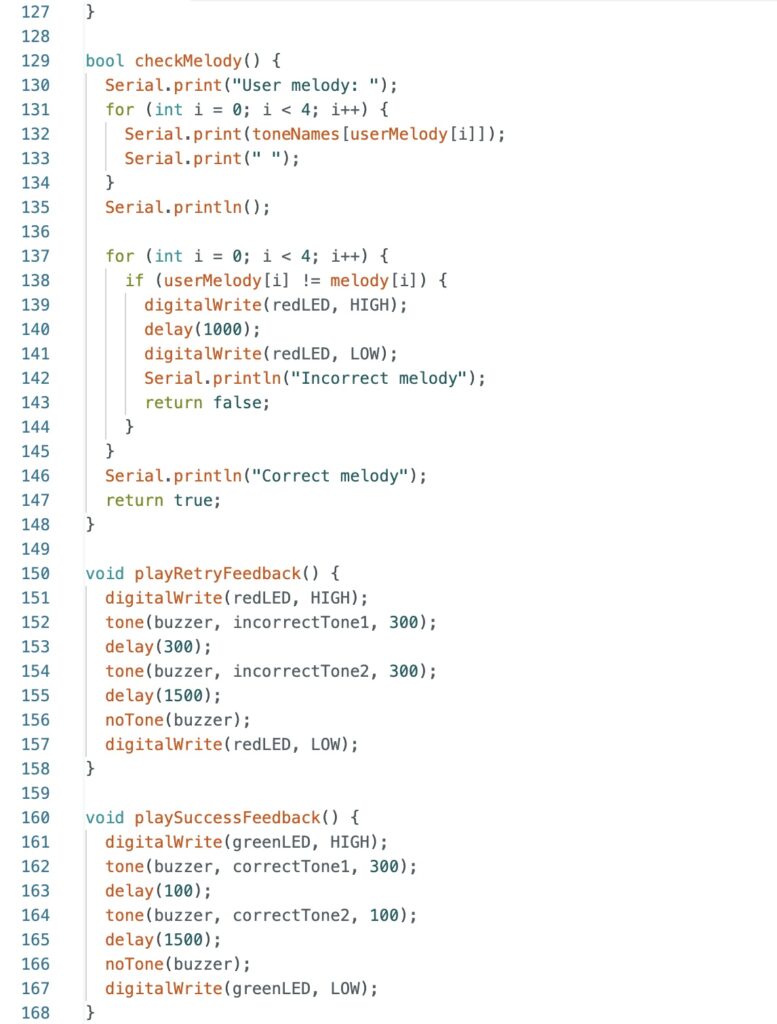
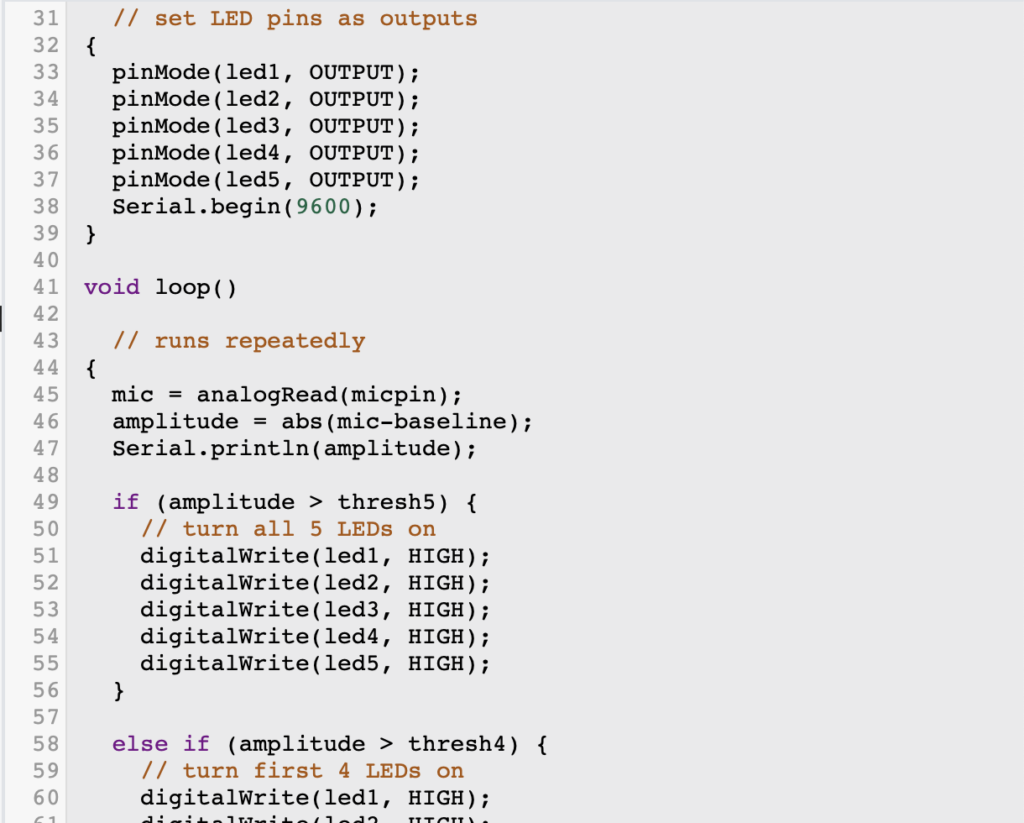
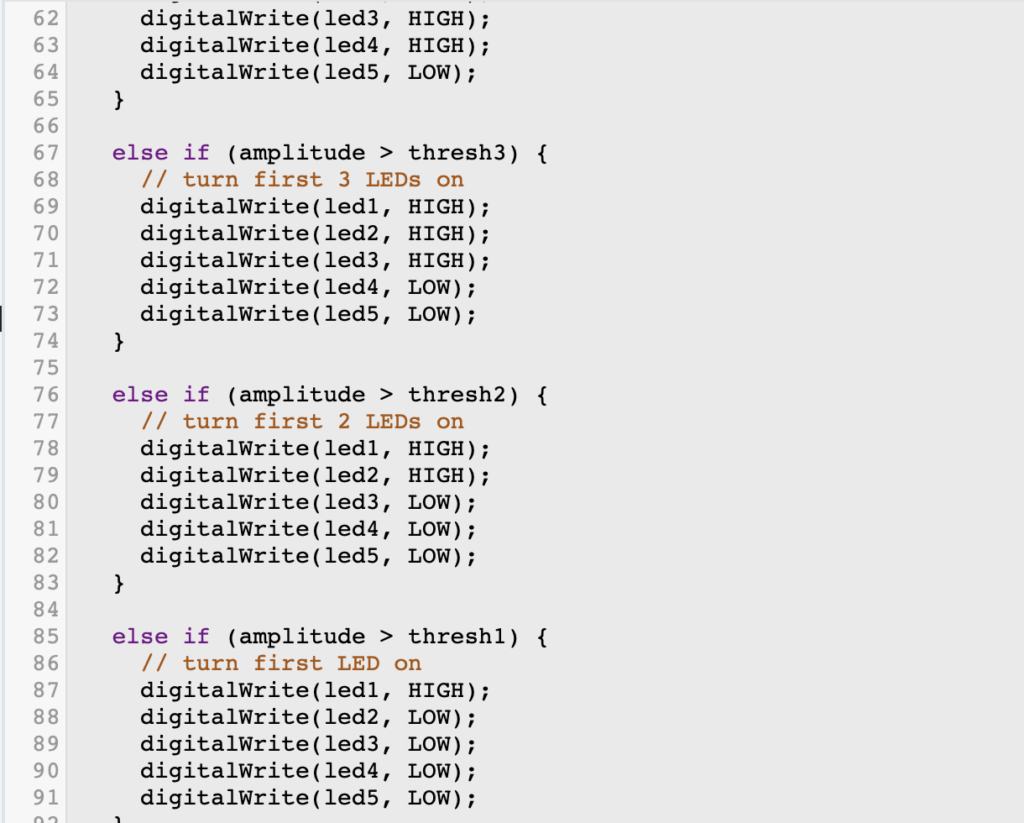
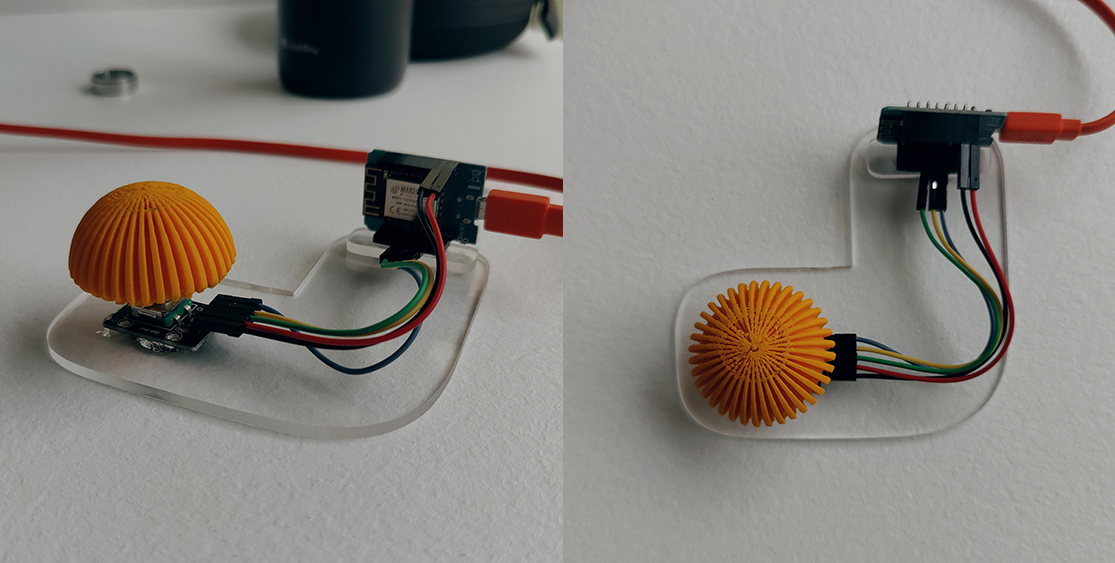
I would have preferred to build the controller myself, but I simply don’t have the time for that anymore. This is, of course, my own fault, as I haven’t spent enough time on this project in the past few weeks. Nevertheless, I received a great prototype controller from Lucas, which we developed for another project, or rather he developed. The controller consists of an ESP8266 12-F board, an HW-040 Rotary Encoder, and a 3D-printed knob. The Rotary Encoder allows for changing values with the rotation function and also includes a button. With the help of ChatGPT, I wrote an Arduino script for the controller that reads the rotation speeds and the button state. I then integrated the controller with the DAT components in TouchDesigner and converted the numerical values using the Math functions. Finally, I connected the converted numerical values to the controls of the particle system, allowing the particle system to be manipulated with the controller.
This setup proved to be quite efficient. The integration process went smoothly, and it was fascinating to see how the physical interaction translated into changes within the digital particle system. It brought a tangible aspect to the data visualization, making the experience much more engaging and interactive.
Particle System
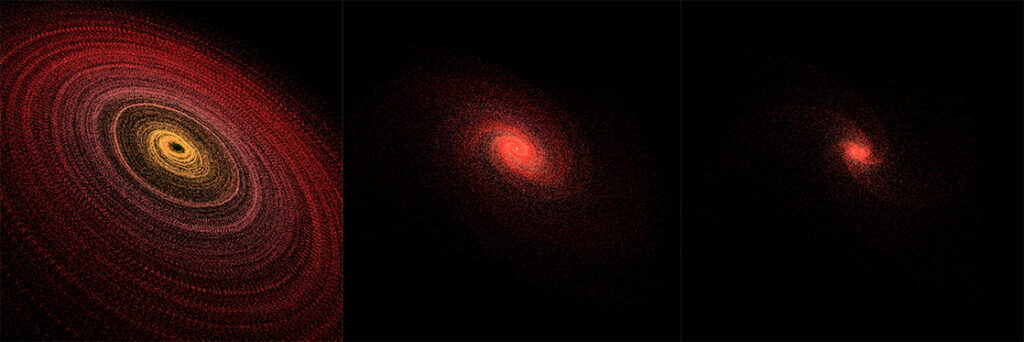
To test everything, I used the galaxy visualization and defined the following states. The neutral state is the visualization shown in the last blog post, which represents a galaxy with a moderate rotation speed. If the specified values are „bad“ / negative, the galaxy rotates faster and shrinks, representing the phase just before a galaxy’s death. With good values, the galaxy rotates slower and is significantly larger, representing a healthy galaxy. I also wanted to integrate the button function to reset the display, but after three hours of work, it didn’t function, so I left it out.
Even without the reset function, the current setup is quite versatile. The ability to manipulate the galaxy’s behavior based on input values adds a dynamic element to the visualization. It’s a compelling way to illustrate how different data sets can affect the same system in various ways.
What’s Next?
In the next step, I want to explore various forms of data visualization and find some examples. This will help me understand the different possibilities and how they can be integrated into my project. Expanding my knowledge in this area will enable me to create even more sophisticated and engaging visualizations. Cheers!