Impulse #1

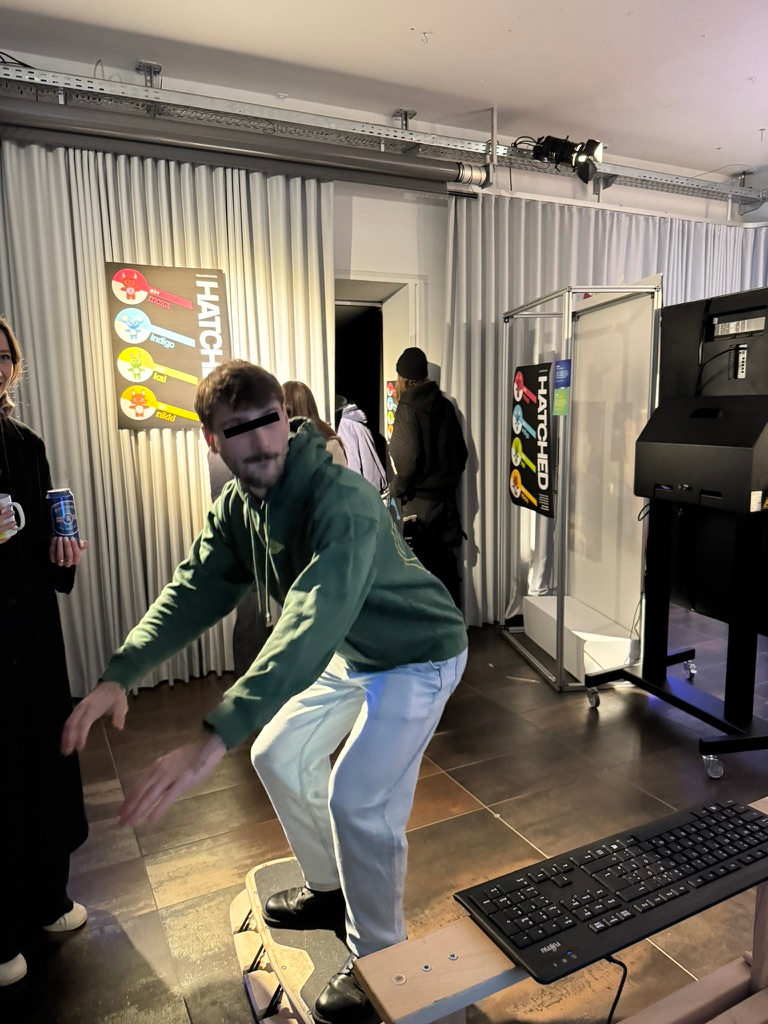
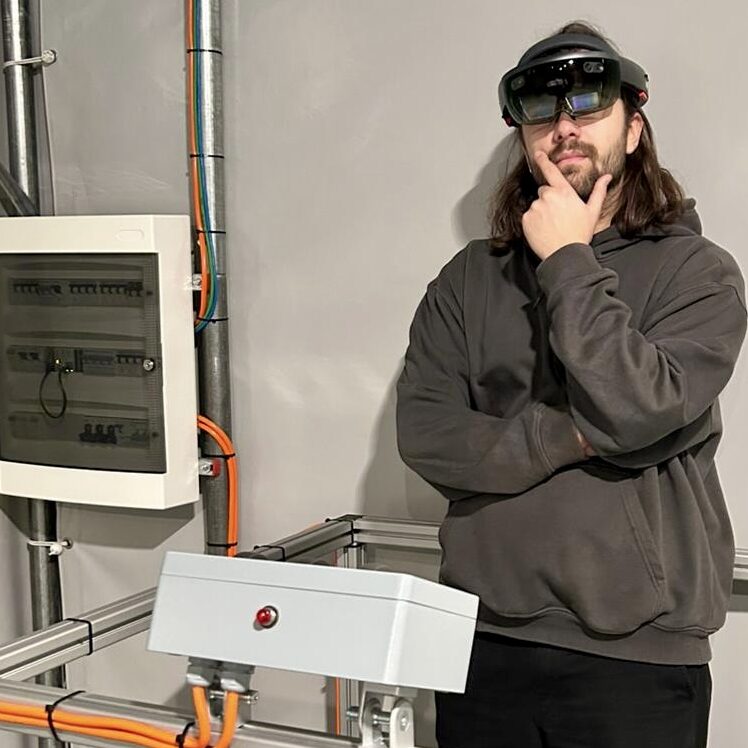
This week, I visited the A(R)dventure exhibition at the CoSA Museum in Graz with my collegue Lucas. The main reason for going there was to get inspiration for my master’s thesis. Since I’m thinking about working with Augmented Reality (AR), this seemed like the perfect chance to experience it in a fun and interactive way. I also knew that Mr. Fabry worked on the project, so I was curious to see it for myself.

The Experience: Habitat Red 6

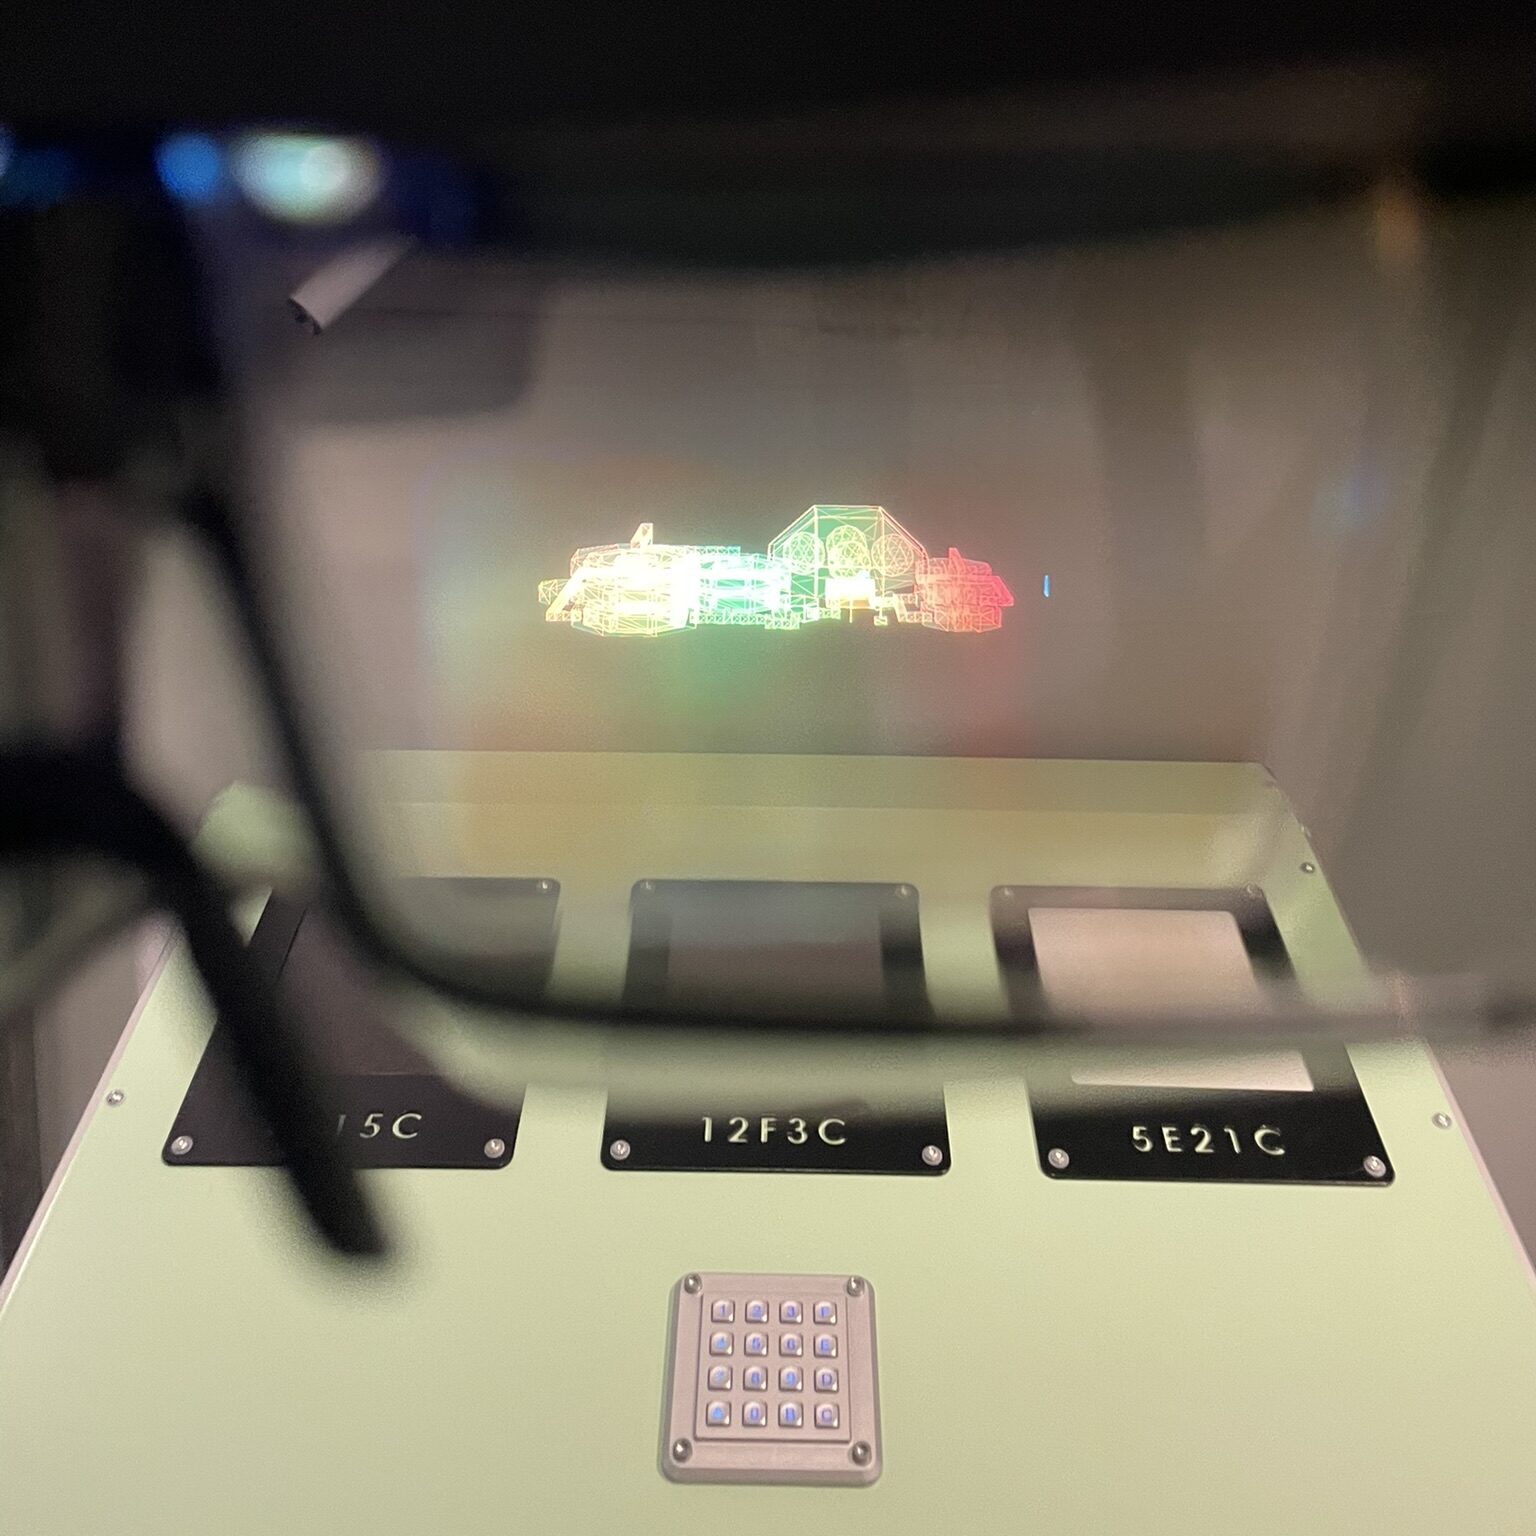
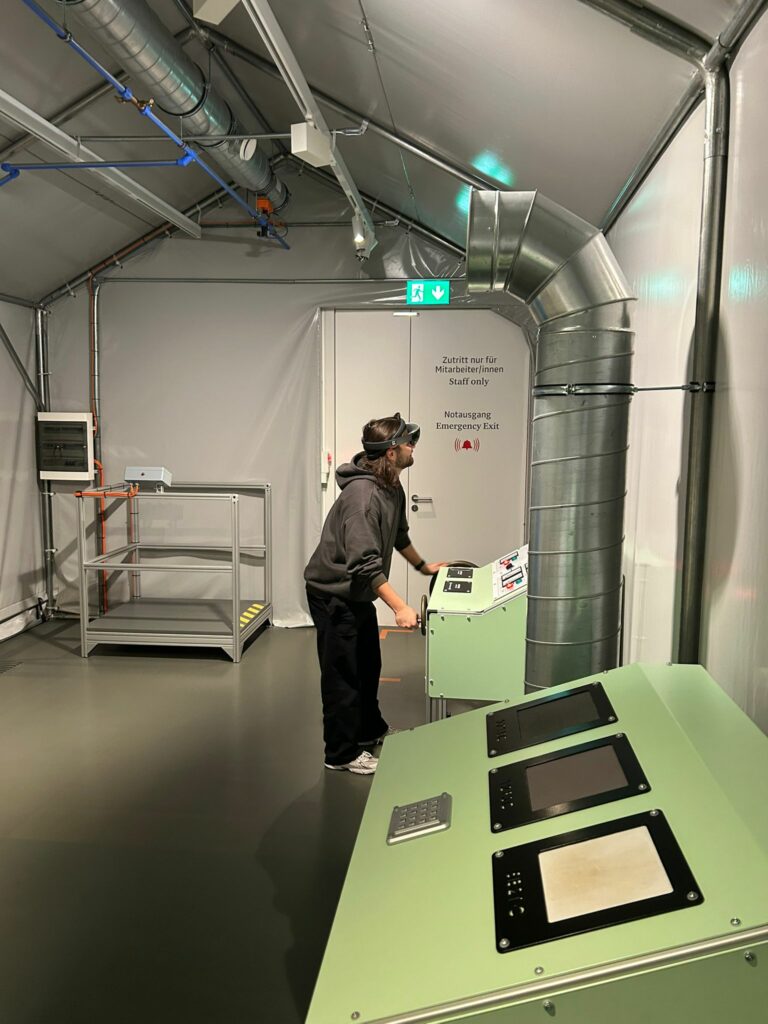
We tried out “Habitat Red 6” one of the AR experiences in the exhibition. To be honest, I didn’t have high expectations at first. The exhibition is already 5–6 years old, and it’s designed for a wide audience, including children. I thought it might feel outdated or too simple, but I was completely wrong. The experience was so much fun and way more interesting than I expected.

The setting was like a science lab on another planet. What made it special was the combination of real physical objects and virtual AR elements. For example, there were buttons, joysticks, and valves you could actually touch and use. When you interacted with them, something happened in the AR glasses: you could see UI elements change or objects move. One of the coolest parts was using a real joystick to control a crane arm that existed only in AR. Another task was turning a physical wheel to position a virtual solar panel into the sunlight. It was so fascinating how real-world actions connected with virtual outcomes.

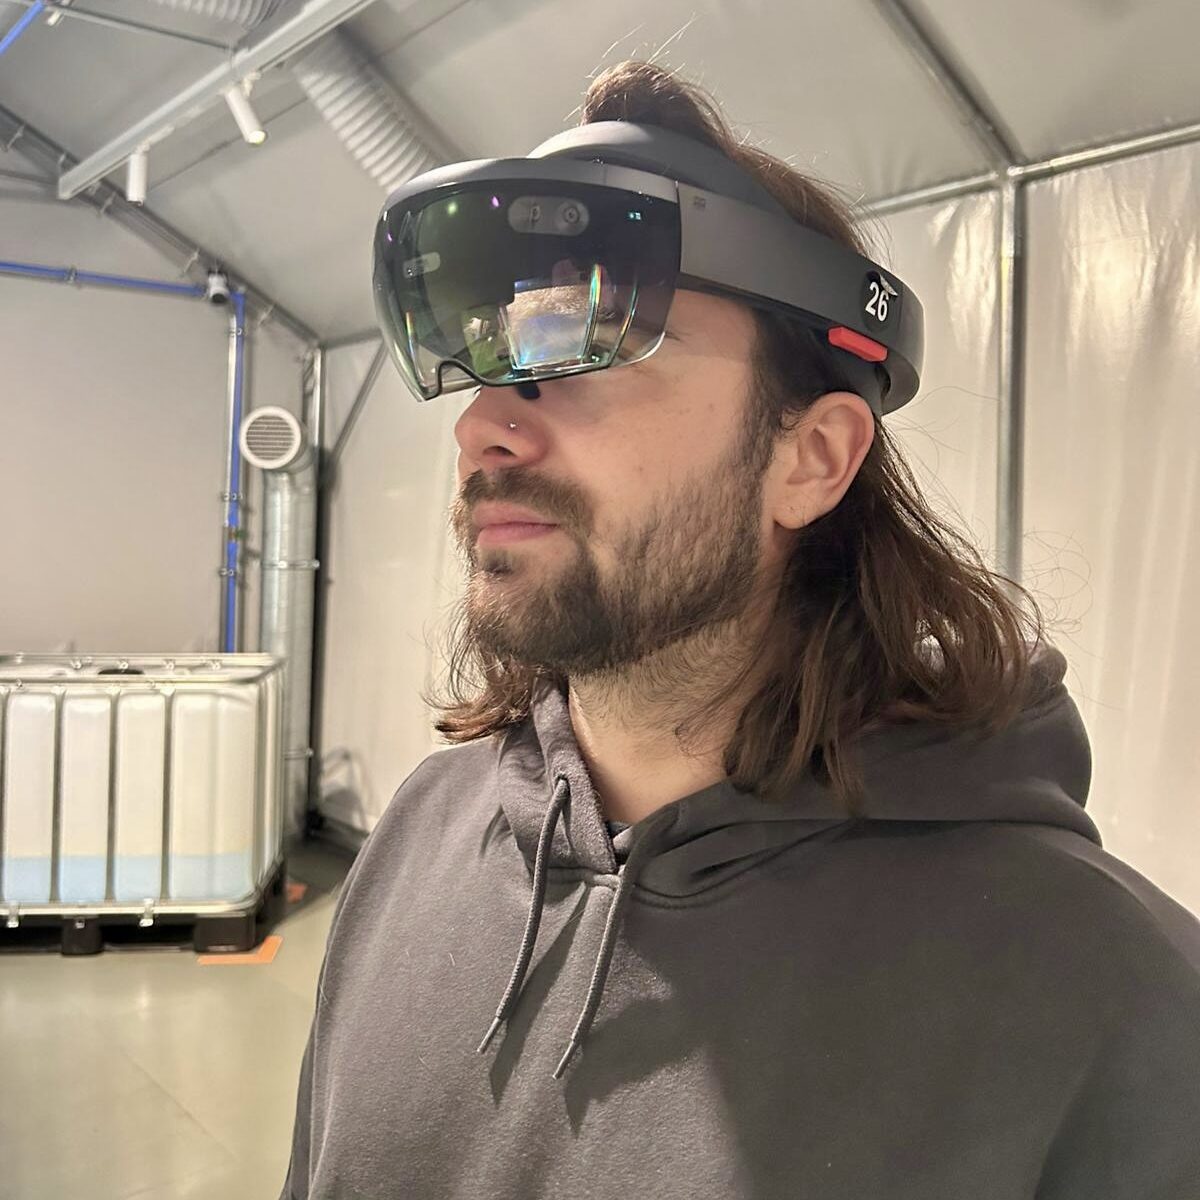
The Technology: HoloLens 1

The AR experience used the first-generation Microsoft HoloLens. Of course, this hardware is a bit old now, and you could notice its limitations, especially the narrow field of view. Sometimes, you had to move your head to see all the AR elements. But this didn’t ruin the experience for me. Considering the age of the technology, it’s still very impressive how well it all worked. It’s clear that the team behind the project put a lot of effort into making it as smooth and immersive as possible.

What I Learned

This visit gave me a lot to think about for my own work. I’ve seen AR in games and apps before, but this was the first time I experienced something that combined real physical interactions with AR feedback in such a creative way. It showed me how important it is to connect the digital and physical worlds for an engaging user experience.

Even though the hardware is old (and sometimes broken), the interactions felt modern and well-designed. This made me realize that good design can still have a big impact, even when the technology is not the newest. It also reminded me how important it is to make people feel like they’re really part of the experience.

Inspiration for My Thesis

I’m still deciding on the exact topic of my thesis, but this visit definitely inspired me. I want to explore how AR can be used in creative and interactive ways, maybe for exhibitions or educational purposes. This experience gave me new ideas for combining physical and virtual elements to create something unique. It also reminded me how important it is to test and improve interactions so that they feel natural and fun.

Final Thoughts

The A(R)dventure exhibition might be replaced in January, which is sad because it’s such a great example of how AR can be used in a meaningful way. The person working there was super friendly and passionate about the project. It’s clear how much love and effort went into creating it.

Overall, visiting this exhibition was an inspiring experience for me. It showed me a side of AR I hadn’t seen before and gave me ideas for how I can push the boundaries in my own work. I highly recommend it to anyone interested in AR or interactive design—just make sure to go before it’s gone!

Escape the Decision Arena – Designing and evaluating an immersive collaborative gaming experience in a cylindrical environment

Title: Escape the Decision Arena – Designing and evaluating an immersive collaborative gaming experience in a cylindrical environment
Author: Peter Dromberg
Publication Year: 2022
Institution: Linköppings Universitet
Department: Department of Science and Technology

When I was researching for interesting Masters Theses this one stood out to me. Most of the other Masters theses I found where classic 2D Games, Inventory Systems or traffic simulations. This one is also a Game, but it uses a 360 Degree screen with multiple projectors around a round table. This makes the interaction and the possibilities much harder but also much more interesting.

1. Level of Design

The level of design in this thesis is well-structured and follows a classic scientific style, with clear sections, example images, and graphs that aid in understanding the content. It is a traditional approach, aligning with academic standards for a scientific master’s thesis. However, the design remains quite formal and restrained, which contrasts with more visually creative, “designy” theses that explore unique layouts or experimental formats.

2. Degree of Innovation

The work is innovative in several aspects. It explores game design in a non-standard environment (the Decision Arena), which includes an unusual 360-degree display and sound system, creating a new avenue for cooperative immersive games. The thesis pushes the boundaries of typical multiplayer games by integrating physical space with digital interaction, specifically focusing on collaborative gameplay and sound localization.

3. Independence

The authors show a high degree of independence, having not only designed and developed the game but also evaluated it through multiple user tests. They tackled various technical challenges, such as integrating WebSockets, Unreal Engine, and SuperCollider for an immersive audio-visual experience, which demonstrates their capability to work autonomously and resolve complex, interdisciplinary problems.

4. Outline and Structure

The thesis follows a logical and clear structure, with sections on the theoretical framework, methodology, game design, evaluation, and results. Each chapter builds on the previous one, which aids in understanding their design decisions. The theoretical section covers immersion, sound, and interface design comprehensively, providing a strong foundation for the project. However, the structure could be improved by consolidating some sections to streamline readability.

5. Degree of Communication

The thesis communicates its findings well, though there are some technical terms that could benefit from additional clarification for general readers. The methods and results are presented clearly, with diagrams and figures enhancing the understanding of the Decision Arena’s setup and the system architecture. The authors also provided a balanced presentation of quantitative and qualitative evaluation results, which enhances the comprehensibility of their research outcomes.

6. Scope of the Work

The scope is ambitious, covering game design, sound engineering, and immersive technology within a collaborative environment. The authors focused on multiple dimensions of the game (visuals, sound, interaction) within the limited space and technology constraints of the Decision Arena. While comprehensive, the scope might have been narrowed to explore one or two aspects more deeply, such as sound localization or immersive design mechanics.

7. Orthography and Accuracy

The Author effectively communicate his concept, which aligns well with academic standards. It is written very well and helps to really understand the topic and the Journey the Author went through.

8. Literature

The thesis utilizes a good selection of literature related to immersive experiences, game design, and sound localization, particularly relevant to the unique Decision Arena setting. The authors have cited a range of studies on immersion, interface design, and collaborative gaming, indicating a strong theoretical basis for their project.

Sources

https://www.diva-portal.org/smash/get/diva2:1740943/FULLTEXT01.pdf

Unreal Journey 7 – Final Steps

Unreal Journey 7: Final Steps

With all the core functionality in place, the final steps of my Unreal Engine project involve fine-tuning interactions, decorating the scene, and setting up the final camera. These steps are crucial for transforming the technical elements into a cohesive and visually stunning piece of interactive art.

Interaction

The first task was fine-tuning the interaction mechanics. This stage involved several iterations to ensure that the interactions felt natural and intuitive. I spent a significant amount of time adjusting the responsiveness and fluidity of the controls, ensuring that the user experience was smooth and engaging. This fine-tuning is essential for maintaining immersion and enhancing the overall quality of the scene.

Importing Assets

To enrich the visual appeal of the scene, I imported various assets and materials from the Quixel library. Quixel’s high-quality assets significantly improved the realism and detail of the environment. Additionally, I imported a futuristic eye model from the internet, which I planned to control via OSC. Integrating these assets required careful adjustment to ensure they blended seamlessly with the rest of the scene.

Post-Processing

A considerable amount of effort went into post-processing to achieve the desired aesthetic. I aimed for a colder, more eerie look to match the futuristic theme of the scene. This involved tweaking color grading, contrast, and adding effects such as bloom and vignette. Post-processing is a powerful tool in Unreal Engine, allowing me to significantly alter the atmosphere and mood of the scene.

Terrain

I sculpted the terrain to match the envisioned layout of the scene. This step involved shaping the landscape to create a believable and immersive environment. The terrain sculpting tools in Unreal Engine are intuitive and powerful, allowing for detailed and realistic terrain creation. After sculpting, I applied textures and materials to give the terrain a polished look.

Camera

Setting up the camera was a critical step in finalizing the scene. I positioned the camera to capture the most compelling view of the environment, ensuring it worked like a real camera. Unreal Engine’s camera system allows for advanced setups, including the use of camera cranes and dollies, although for this project, a simpler setup sufficed.

One challenge I encountered was getting Unreal to render the scene through the camera in Play mode. This process is less straightforward compared to Unity, where switching to the camera view in Play mode is more intuitive. Despite this, I managed to configure the camera to achieve the desired perspective and visual impact.

Final Thoughts

These final steps were integral to bringing my project to life. Fine-tuning interactions, importing and integrating assets, enhancing the scene with post-processing effects, sculpting the terrain, and setting up the camera all contributed to creating a polished and immersive piece of interactive art.

You will see the Final Result of thiis semesters prototype in my next Blog Post.

Unreal Journey 6 – Interaction

Unreal Journey 6: Interaction

Creating an interactive scene is crucial for immersive experiences, so my goal is to implement smartphone-controlled interaction within Unreal Engine. This involves using Zigsim for iOS to capture Quaternion x, y, and z values from my iPhone, sending these values via OSC (Open Sound Control) to my Unreal project, and building a Blueprint to read these values and control the rotation of a 3D object.

Setting Up Zigsim

First, I set up Zigsim on my iPhone. It’s essential to choose the correct sensors in the app and configure it to send data to the IP address of the computer running Unreal Engine. The port number must also be correctly set—in my case, it’s 8000.

Working with Blueprints

The next step was integrating the OSC data into Unreal Engine using Blueprints. This process was more complex than anticipated, especially figuring out how to read the OSC data and split it into three separate variables for x, y, and z.

Receiving OSC Data

To extract the Quaternion values from the OSC message, I used the „Get OSC Message Floats“ node. This node retrieves all float values from the received OSC message as a float array. To isolate the first three values (representing x, y, and z), I employed three „GET (a copy)“ nodes, indexed at 0, 1, and 2. These values were then stored in variables OSC X, OSC Y, and OSC Z.

Implementing Rotation Logic

Next, I created another Blueprint to manage the 3D object’s rotation. This Blueprint included the mesh of the object and an event graph to handle the rotation logic. I introduced a custom event, „SetRotation,“ with three float parameters: Rot X, Rot Y, and Rot Z, which received values from the previous Blueprint. These parameters were fed into a „Make Rotator“ node to control the self-rotation of the actor.

Fine-Tuning and Testing

The final step involved fine-tuning the rotation values and adjusting the axes to ensure natural movement. This required several iterations to get the interaction feeling intuitive and responsive.

Conclusion

Implementing smartphone-controlled interaction in Unreal Engine was a challenging but rewarding experience. By leveraging Zigsim and OSC, I could create a dynamic and interactive scene that adds significant depth to the project. The complexity of setting up Blueprints to handle real-time data highlights the flexibility and power of Unreal Engine in creating interactive environments. I am very excited to die deeper into this Interaction methods in the future!

Unreal Journey 5 – Materials

Unreal Journey 5: Materials

In Unreal Engine, materials are created using a node-based system, similar to Unity’s Shader Graph. This approach offers a flexible and powerful way to create complex materials and shaders.

Real-Time Global Illumination with Lumen

One of the standout features in Unreal Engine is the Lumen system, which provides real-time global illumination. This means that the colors of your assets can actually bleed onto other objects, enhancing the realism of your scenes.

Quixel <3

Epic Games‘ acquisition of Quixel is a game-changer. Now, I have free access to the entire Quixel Library, which includes a vast array of 3D scans, materials, and imperfections. The integration with Unreal Engine through Quixel Bridge makes this a seamless workflow.

Prototype

I started texturing my hangar using materials from the Quixel Library. However, I quickly encountered an issue with noticeable repetition on large surfaces like the hangar floor. To address this, I borrowed material setups from Unreal’s starter assets, which come pre-configured with various imperfections and overlays to create a seamless look.

Unreal Engine’s modeling feature includes a UV unwrap tool, which is essential for ensuring that materials don’t stretch on certain surfaces. I used this tool to unwrap the UVs of the hangar, achieving more uniform and professional-looking textures.

Conclusion

Unreal Engine’s material system, combined with the power of the Lumen global illumination and the vast resources from the Quixel Library, provides an incredible toolkit for creating high-quality textures and materials. The built-in UV unwrap tool further enhances the workflow, ensuring that textures are applied correctly and look great. This journey into materials has been enlightening, and I’m excited to see how these tools will elevate my hangar project.

Unreal Journey 4 – Lighting

Unreal Journey 4: Lighting

In this chapter, I want to share my experience with lighting in Unreal Engine. Setting up the lighting for a scene can be overwhelming, especially when you’re used to Unity’s system. Fortunately, Unreal Engine offers a handy tool under Window > Env. Light Mixer. This tool allows you to easily create and manage all the necessary game assets for lighting.

One of the coolest aspects of Unreal’s lighting system is that light intensity is measured in lux, similar to Unity’s HDRP. This allows for physically accurate lighting setups using real-life settings. All other light parameters can also be adjusted to match their real-life counterparts, which is fantastic for achieving realistic renders.

Key Features

Lux Measurement:

  • Allows for physically correct images using real-life light settings.

Adjustable Point Light Length:

  • You can change the length of a point light and utilize real-time area lights. This is something Unity lacks, making Unreal stand out in terms of flexibility.

Built-in Volumetrics:

  • Unreal Engine comes with built-in volumetrics, eliminating the need for HDRP or third-party plugins to achieve cinematic volumetric fog. This is a significant improvement over Unity, where such features often require additional plugins.

Practical Application

For my scene, I aim to simulate large lights on top of the hangar. Using area lights, I experimented with different settings until I achieved a satisfactory result. At this stage, the lighting doesn’t have to be perfect as I can always tweak it later on.

Conclusion

Unreal Engine’s lighting tools provide a comprehensive and flexible system for creating realistic and visually stunning scenes. The integration of real-life light settings and built-in volumetrics makes it a powerful tool for any developer looking to create high-quality visuals. Stay tuned for more updates as I continue to explore and refine my scene.

Unreal Journey 3 – Modelling pt. 2

Continuing my exploration of Unreal Engine’s modeling capabilities, I discovered a feature-rich tab called “Model” within the Modeling Mode. One particularly powerful option here is “PolyGroup Edit,” which allows for extensive mesh manipulation similar to what you’d find in 3D software like Blender or Cinema 4D.

PolyGroup Edit:

This tool offers the flexibility to edit and refine your mesh directly in Unreal Engine, eliminating the need to switch between different software for detailed modeling tasks.

To further develop my hangar, I wanted to add some intricate details to the walls. Using Unreal Engine, I created edge loops directly within the platform. This seamless integration means I no longer need to export my models to Blender for such modifications, which I find incredibly efficient and convenient.

After creating the edge loops, the next step was to extrude them to add depth and detail. As shown in the video, it’s crucial to extrude faces along the direction of their normals. Extruding in a single world direction can result in unintended distortions. This method allows for more precise and accurate modeling within the scene.

One challenge I’m still facing is getting used to Unreal Engine’s camera controls, as I’m accustomed to Unity’s layout. This adjustment period is evident in the video, where my navigation isn’t as smooth as I’d like. However, I’m confident that with more practice, I’ll become more proficient.

Finally, I added some finishing touches, like beveling edges, to refine the model further. Beveling helps soften edges and adds a more polished look to the overall structure, enhancing the visual appeal of the hangar.

Overall, the ability to handle complex modeling tasks within Unreal Engine without needing external software is a game-changer for my workflow. This integrated approach not only saves time but also keeps me more engaged in the creative process. I’m excited to continue refining my skills and sharing my progress.

Unreal Journey 2 – Modelling

Discovering Unreal Engine’s Built-In Modeling Tools

As I dive deeper into Unreal Engine, I’ve been pleasantly surprised by its sophisticated modeling capabilities, which are now natively built into Unreal Engine 5.4. This feature is incredibly useful for quickly prototyping various elements within the engine itself.

Unreal Engine allows the creation and manipulation of high-poly models directly within the platform. This integration is particularly advantageous compared to traditional 3D modeling software because it includes preset models, like stairs, which are essential for building game levels swiftly.

Powerful Tools for Rapid Prototyping

One of the standout tools for quick prototyping and blocking is the Cube Grid tool. This tool enables developers to rapidly create shapes and structures, facilitating a more streamlined workflow when sketching out ideas and concepts.

Given my goal to create a spaceport for my prototype scene, I found the extrude box tool incredibly helpful. This tool allows the creation of complex shapes by extruding boxes, making it easier to design intricate structures and environments.

Advantages Over Traditional 3D Modeling Software

Model Presets:

  • Since Unreal Engine is primarily a game engine, it includes various model presets designed for game development. This feature is perfect for quickly building levels and environments without the need for extensive modeling from scratch.

Integrated Environment:

  • Working within Unreal Engine eliminates the need to switch between different software. You can model, texture, and implement your assets all within one ecosystem, which speeds up the development process and reduces compatibility issues.

Real-Time Feedback:

  • The ability to see real-time feedback and adjustments in the game engine is a significant advantage. This feature allows for immediate testing and iteration, ensuring that your models look and perform as expected in the final environment.

Looking Ahead

With these powerful modeling tools at my disposal, I’m excited to continue developing my hangar scene that I chose for this prototyping project. The ability to create and manipulate high-poly models directly within Unreal Engine has streamlined my workflow and enhanced my creativity. The only problem I already encountered is that Unreals modelling Tool is still very buggy.

Unreal Journey 1 – The Beginnings

Why Unreal Engine?

Unreal Engine currently holds a technological edge over Unity, particularly in terms of visual fidelity and feature releases. While Unity is beginner-friendly, Unreal offers more sophisticated tools for creating AAA-quality graphics. I’m particularly interested in developing interactable art pieces and motion graphics, a type of media that is gaining increasing attention. This blog will document my journey of learning Unreal Engine, culminating in the creation of a small, interactive art piece prototype.

Differences Compared to Unity

  • Camera Movement in Viewport:
  • The camera doesn’t pan around the selected object but „looks around.“
  • Use the right mouse button to navigate with WASD keys.
  • One-handed navigation is possible by pressing the left mouse button.
  • Content Drawer:
  • Closed by default, open with Ctrl+Space.
  • Transforms:
  • Measured in centimeters (cm) instead of meters (m).
  • Sun Position:
  • Hold Ctrl+L and move the mouse to change the sun’s position.

Difficulties at This Stage

I encountered an issue where the exponential height fog did not show in the viewport. The fix was to press Alt+F.

Current Worries

I’m concerned about whether ChatGPT can assist me as effectively with Unreal Engine as it did with Unity. Since Unreal Engine heavily relies on Blueprints, I can’t simply copy and paste code from ChatGPT.