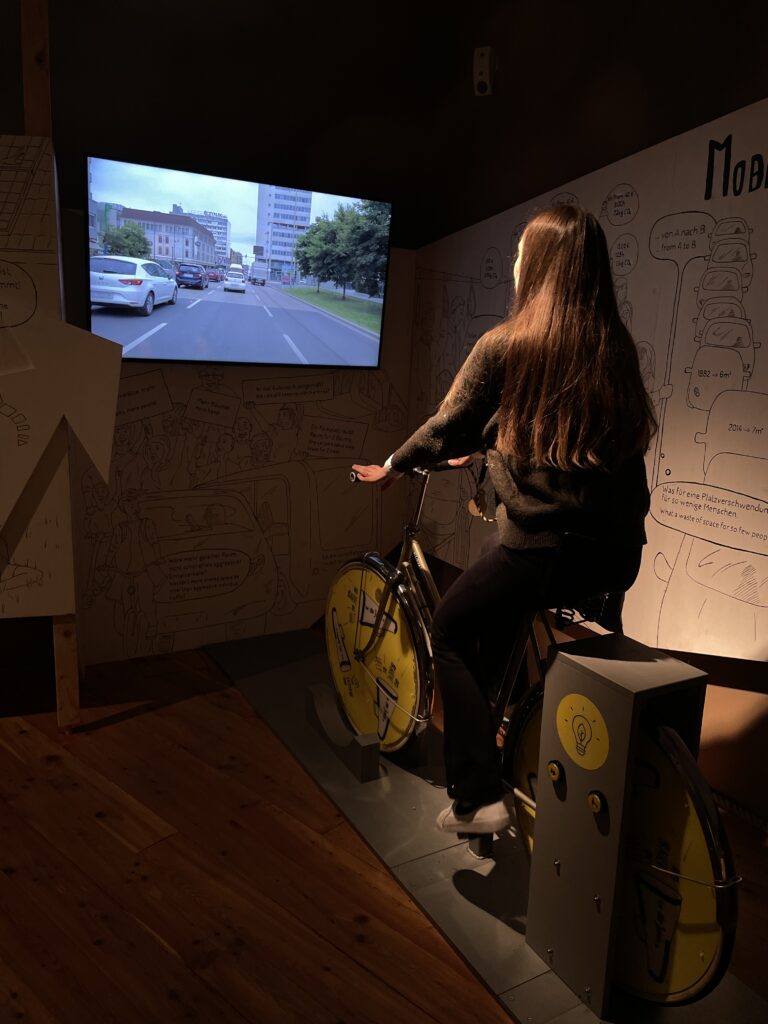
I wanted to improve the learning experience and make it more interesting for children, so they would engage more. While researching photos and reference examples, I found the use of Augmented Reality (AR) in education and realized that I could use this for my thesis project. That’s why I decided to watch a series of YouTube videos called „Unity AR – Augmented Reality Tutorial“ by lightsandclockwork. I watched 10 lessons, and I will explain what I learned from each one. This tutorial series gave me a good introduction to the possibilities of AR applications in Unity.
Lesson 1 – AR Simulation
The first step in AR development is setting up AR simulation in Unity. I had never used Unity before, so I had to learn a little about the software. The video explained that Unity allows testing AR interactions inside the editor, without needing a mobile device. This makes the development process faster. I installed AR Foundation, a package for AR applications, which allowed the scene to recognize virtual surfaces and objects without using a real device.
Lesson 2 – AR Tracked Image
This lesson teaches how to track images, which means the app can recognize specific pictures and place 3D objects on them. I used AR Tracked Image Manager, which lets you add images to a database and display objects when the camera detects them. This is often used in education, catalogs, and interactive guides. In my case, it could be interesting to scan a plant and see an animated version of its growth.
Lesson 3 – AR Placement Interactable
In this lesson, I learned how to place virtual objects in AR space. The user taps the screen, and a virtual object appears on a real surface. The tutorial used AR Placement Interactable, which makes positioning objects easier. This could be used to show animals in a real forest environment, but I think this would be better for adults than children.
Lesson 4 – AR Placement with Visuals
This lesson adds a visual preview before placing an object. The object appears as a transparent model, so the user knows where it will be placed. This helps with better user experience (UX) because it allows more precise placement. This could be useful for children, but I’m not sure if it would work well. If I use this, I would need to test it with different age groups.
Lesson 5 – AR Placement with Grid
The fifth tutorial adds a grid, which helps users see where objects can be placed. This makes positioning more precise and helps visualize flat surfaces and object proportions in real space. Grids are often used in interior design and navigation apps, but in my case, they could be used to show virtual elevation lines in nature or to simulate how landscapes looked 100 years ago.
Lesson 6 – AR Placement Restriction
This lesson explains how to prevent objects from being placed in the wrong locations. It allows objects to be placed only on certain surfaces or inside specific zones.
Lesson 7 – AR Object Scaling
In this lesson, I learned how to make objects bigger or smaller using pinch-to-zoom gestures. This is useful for 3D modeling and educational AR apps, where users can adjust the size of an object to explore details.
Lesson 8 – AR Object Rotation
This tutorial shows how users can rotate AR objects using swipe gestures. The system detects touch movements and rotates the virtual object accordingly. This is useful for education because it lets users view objects from all angles.
Lesson 9 – AR Object Removal
This lesson explains how to delete objects from the AR scene after placing them. This feature could be used for interactive learning, for example, showing what happens when part of a natural ecosystem is removed.
Lesson 10 – Build for Android Mobile
The final lesson covers building an AR application for Android devices. It explains how to set up build settings, activate ARCore (Google’s AR framework), configure the camera, and run the AR app on a real mobile device.
*ChatGPT was used to summarize and translate text from Croatian to English