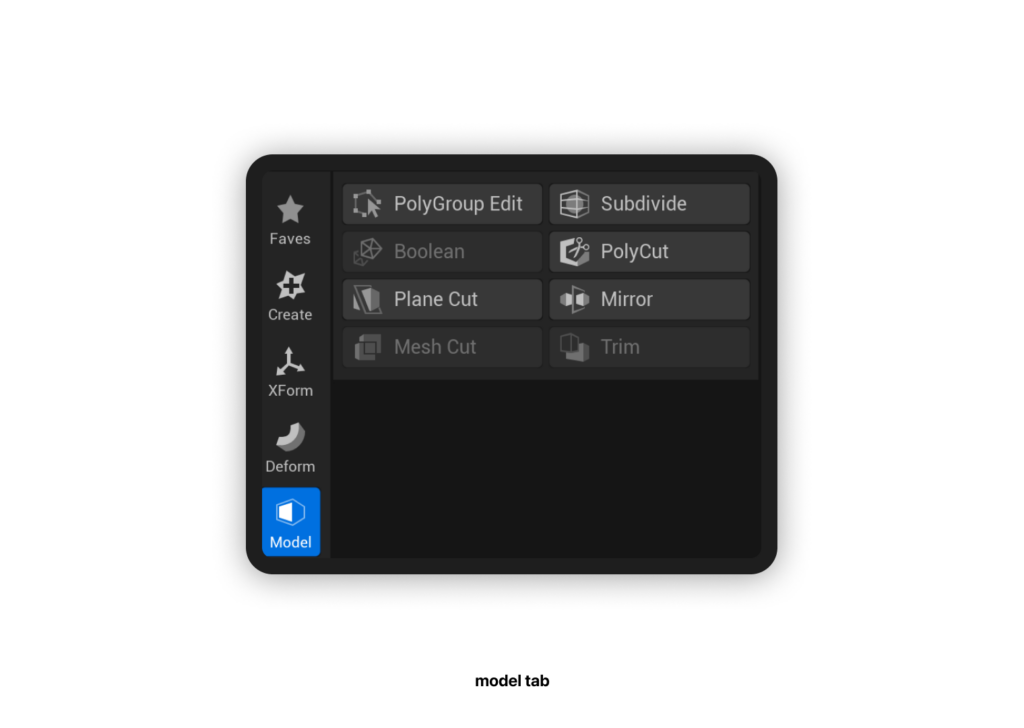
Continuing my exploration of Unreal Engine’s modeling capabilities, I discovered a feature-rich tab called “Model” within the Modeling Mode. One particularly powerful option here is “PolyGroup Edit,” which allows for extensive mesh manipulation similar to what you’d find in 3D software like Blender or Cinema 4D.

PolyGroup Edit:
This tool offers the flexibility to edit and refine your mesh directly in Unreal Engine, eliminating the need to switch between different software for detailed modeling tasks.
To further develop my hangar, I wanted to add some intricate details to the walls. Using Unreal Engine, I created edge loops directly within the platform. This seamless integration means I no longer need to export my models to Blender for such modifications, which I find incredibly efficient and convenient.
After creating the edge loops, the next step was to extrude them to add depth and detail. As shown in the video, it’s crucial to extrude faces along the direction of their normals. Extruding in a single world direction can result in unintended distortions. This method allows for more precise and accurate modeling within the scene.
One challenge I’m still facing is getting used to Unreal Engine’s camera controls, as I’m accustomed to Unity’s layout. This adjustment period is evident in the video, where my navigation isn’t as smooth as I’d like. However, I’m confident that with more practice, I’ll become more proficient.
Finally, I added some finishing touches, like beveling edges, to refine the model further. Beveling helps soften edges and adds a more polished look to the overall structure, enhancing the visual appeal of the hangar.
Overall, the ability to handle complex modeling tasks within Unreal Engine without needing external software is a game-changer for my workflow. This integrated approach not only saves time but also keeps me more engaged in the creative process. I’m excited to continue refining my skills and sharing my progress.