Calm Technology // 14

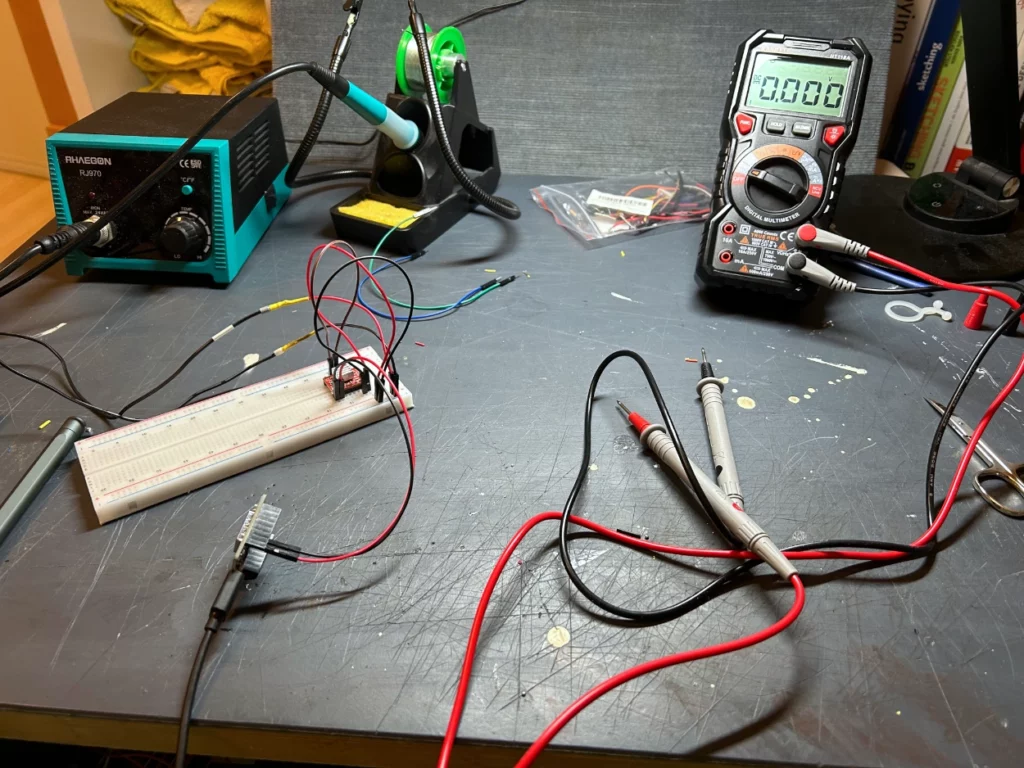
As a next step, I have ordered a second stepper motor for my more advanced prototype. This time, because I wanted to keep the size of the tap small, I ordered a Nema 17 pancake stepper motor. The difference is the height of the motor block, which is much thinner in this motor. After receiving the motor, I set up the second motor in the same way as the first and connected the new motor, a second motor controller and my Wemos board all together on the breadboard.
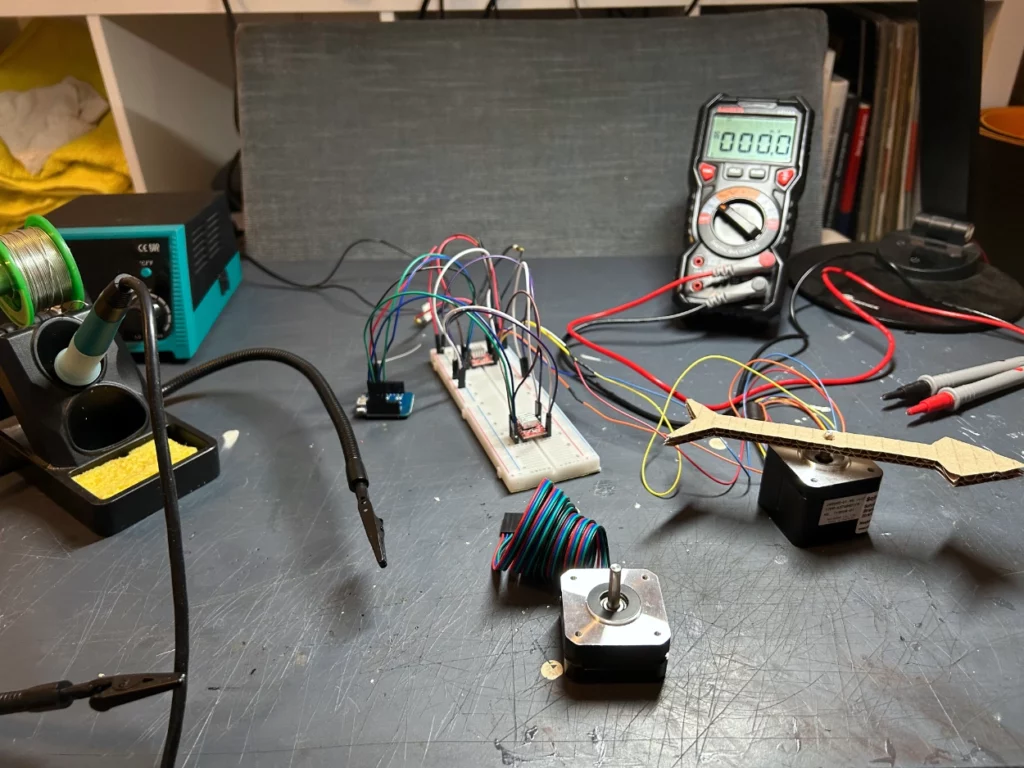
Soldering & Adjustment

Once everything was set up, I adapted the code running on my Wemos to control two motors instead of one, and tested two motors running in the same way as before the single motor. First in direction and interval and then in direction, acceleration and interval.

Control of direction and interval of rotation
Control of direction, acceleration and interval of rotation

After some problems with changing the code to allow for both motors to be driven at the same time, the set up was running quite smoothly. The only problem I ran into was that each of the motors required 1A at full power and my current temporary power source (a simple house-hold 12V plug-in transformer) only supplied 1.5A. This meant that as soon as I started playing around with faster speeds or resistance, one of the motors would miss steps, stop or just fail for a moment. So before I can really start building the first working prototype, I need to fix this problem. So my next step will be to build a custom power source that will provide enough power to run both motors at full speed.

Calm Technology // 13

For my first technical mock-up I needed a controller, a motor diver and a motor itself. For the controller I am using an Arduino based board and the motor driver will depend on the motor I am using. The motor needs to be able to rotate in both directions, only move a certain distance and hold a certain load when stationary. As I’ve never worked with electric motors before, I did some quick research to see which type of motor would best suit my needs. I came up with two options: a servo motor or a stepper motor. I chose the stepper motor for my project because it offers greater accuracy in movement, full torque at standstill and is more reliable with a longer life.1

For the first setup I chose a Wemos D1 mini board, which I have used in various projects, an A4988 driver module for the stepper motor, a MINEBA stepper motor with 200 steps and a step angle of 1.8°, a Breadboard and a 12v plug-in power supply.
The setup is influenced by the tutorial I found online on how to control stepper motors with an Arduino based board:

Control Stepper Motor with A4988 Driver Module and ESP8266 NodeMCU

This is also the tutorial I followed for my first steps.

Parts
Soldering & Adjustment

Once everything was set up, I was able to control the stepper motor with the sample codes given in the tutorial in terms of interval, amount and direction of rotation, and additionally the acceleration of the movement, as shown in the videos below. This will be the basis for my upcoming first prototype of tap. The prototype will consist of two stepper motors mounted on top of each other and will already mimic the full functionality of tap.

Control of direction and interval of rotation
Control of direction, acceleration and interval of rotation
  1. Types of Electric Motors – Classification of AC, DC & Special Motors (electricaltechnology.org) ↩︎