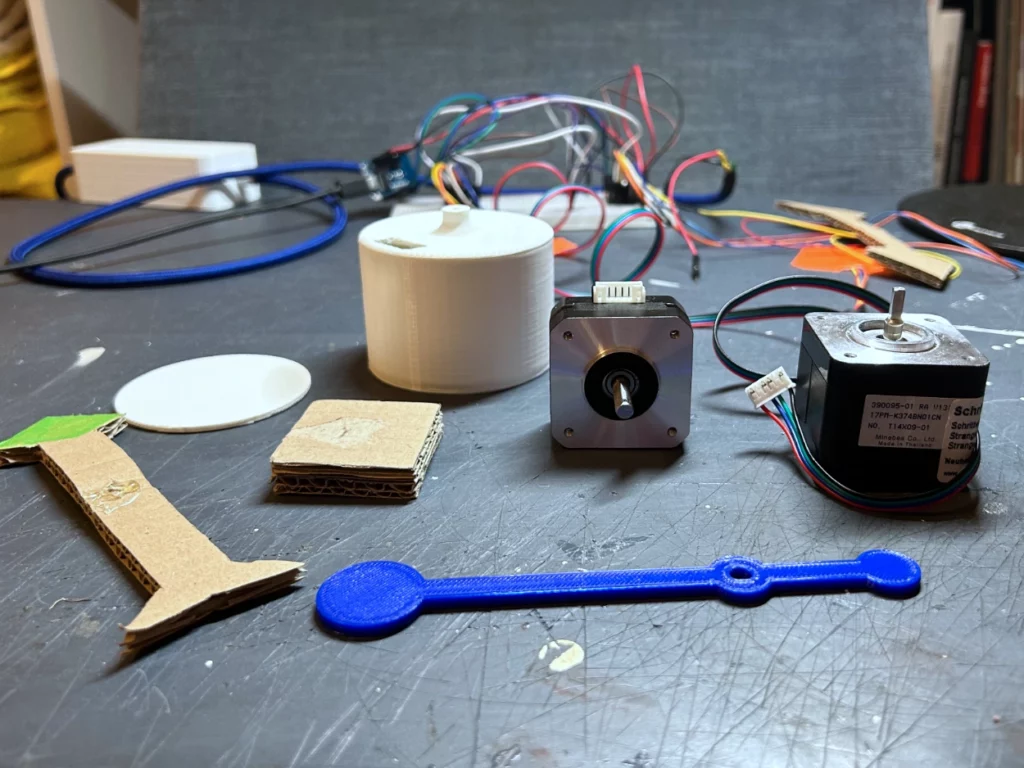
After I started programming specific gestures for Tap, the cardboard and hot glue construction began to fail. This meant that the top motor was slowly falling backwards and I couldn’t operate the prototype in this state. So I decided to put the gesture work on hold until the next step and build a more robust prototype for it.
CAD
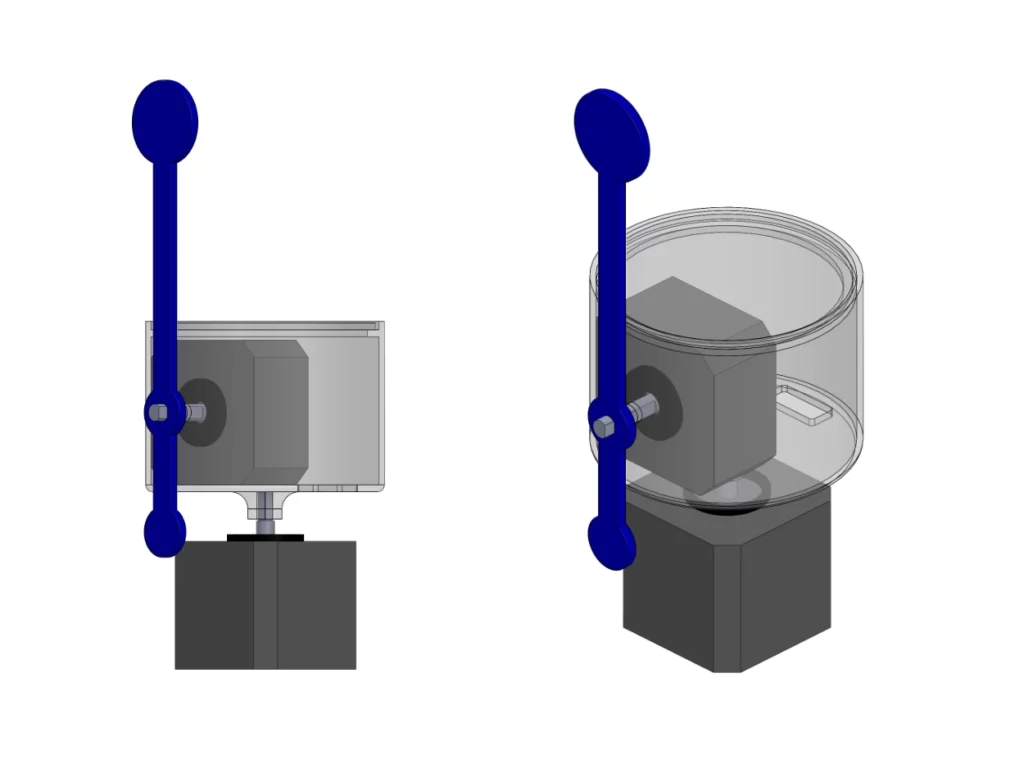
I started by measuring the two motors and getting the dimensions of my paper prototype. I then scribbled a few quick and dirty drawings of some of the possible solutions. When I was happy with my solution on paper, how the construction should look and that the motors, cables and everything had its place, I moved on to 3D modelling. I started by modelling the two motors to have a reference point and then went on to model the base to hold the top motor and a tapper that would fit perfectly on the motor’s axis. For the time being, I decided to build only the upper half of the tap, as that was all that was needed for now.

3D Print
I then loaded my finished 3D model into my FDM printer and printed the base for the upper motor in neutral white and the tapper in dark blue. Both colours stayed in the scheme of my already built power supply to create a certain consistency. The whole printing process took about 5 1/2 hours and then the parts were ready for assembly.
Assembly
Once I had disassembled the cardboard and the hot glue build and had freed up my two motors, I checked to see if the two new parts would fit on their axles. Both fit perfectly and the assembly was quick and easy. Which shows that measuring twice as I did this time has its advantages, unlike when I build the case for my power supply. To finish, I glued the lid of the base and the upper motor inside the base with Pattafix, which is a strong enough adhesive for now and makes dismantling or replacing parts easier.

Testing
With the newly completed version of the prototype, I then did some live testing to see if it would hold up in motion. For the test, I scripted a short moving gesture for Tap, based on the script from the last blog post. As you can see in the video below, everything stayed in place and the setup worked even stabler and smoother than the cardboard version.
With Tap set up like this, I can now move on to the next steps, as mentioned in my last blog post, to start scripting different gestures and behaviours for Tap. Giving him the ability to communicate by moving his tapper and his body.