I decided to skip some sections of the tutorial series in my blogposts as they are only relevant for internal processes in CLO and would not be relevant to discuss outside of the application context they are used in. Instead, I decided to move to the final part of the tutorial series and explain about fabrics, materials, presentation and customization options in CLO.
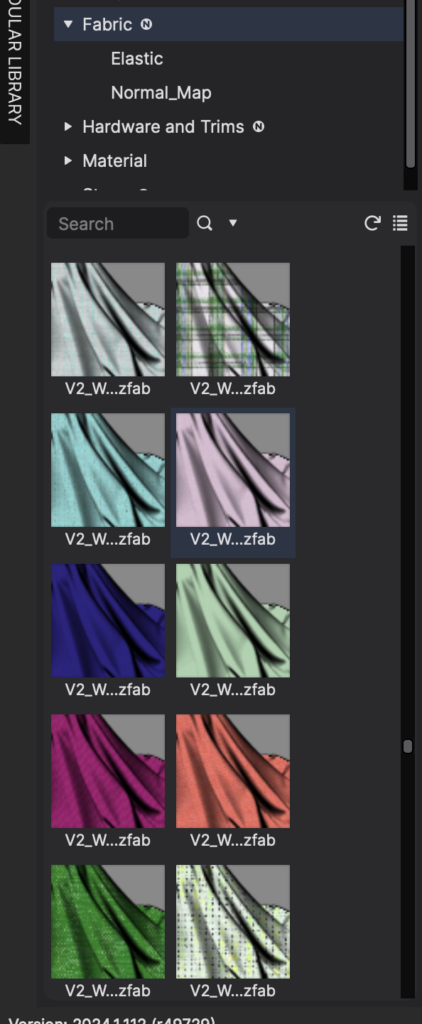
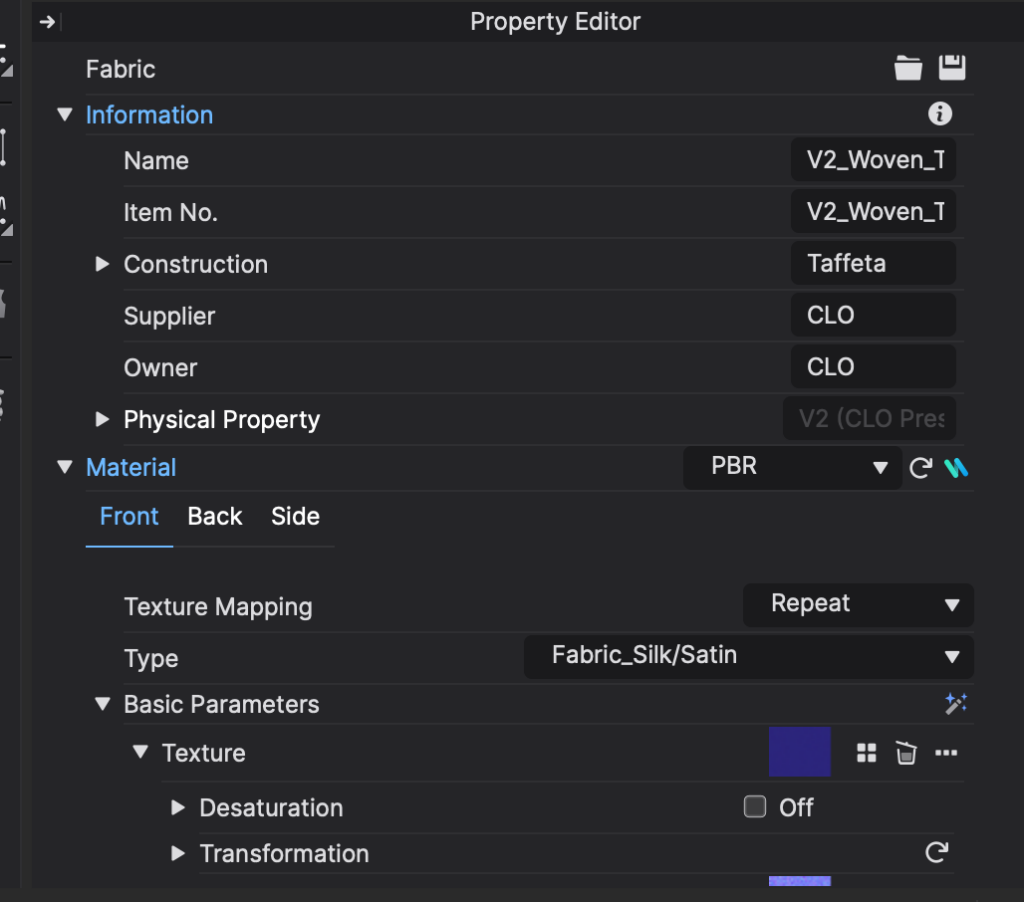
CLO comes with a very extensive catalogue of preset fabrics you can use through your subscription. It also allows you to load fabrics purchased from online libraries. Further, you can customize the default or loaded fabrics in the fabric property editor.
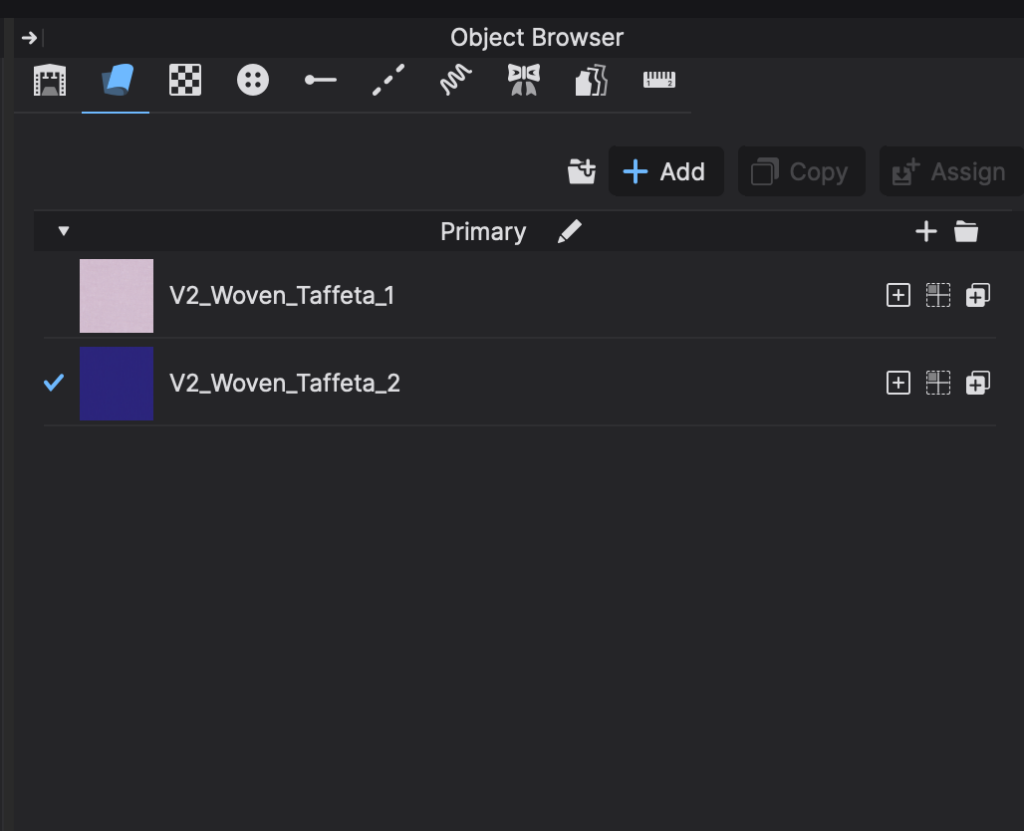
Using and applying the fabrics is very easy and intuitive. You simply have to select a fabric from the library and drag and drop it into the object browser, from where you can apply it to the entire garment or just individual parts of the garment. This can be done in multiple ways, all of which are very intuitive.
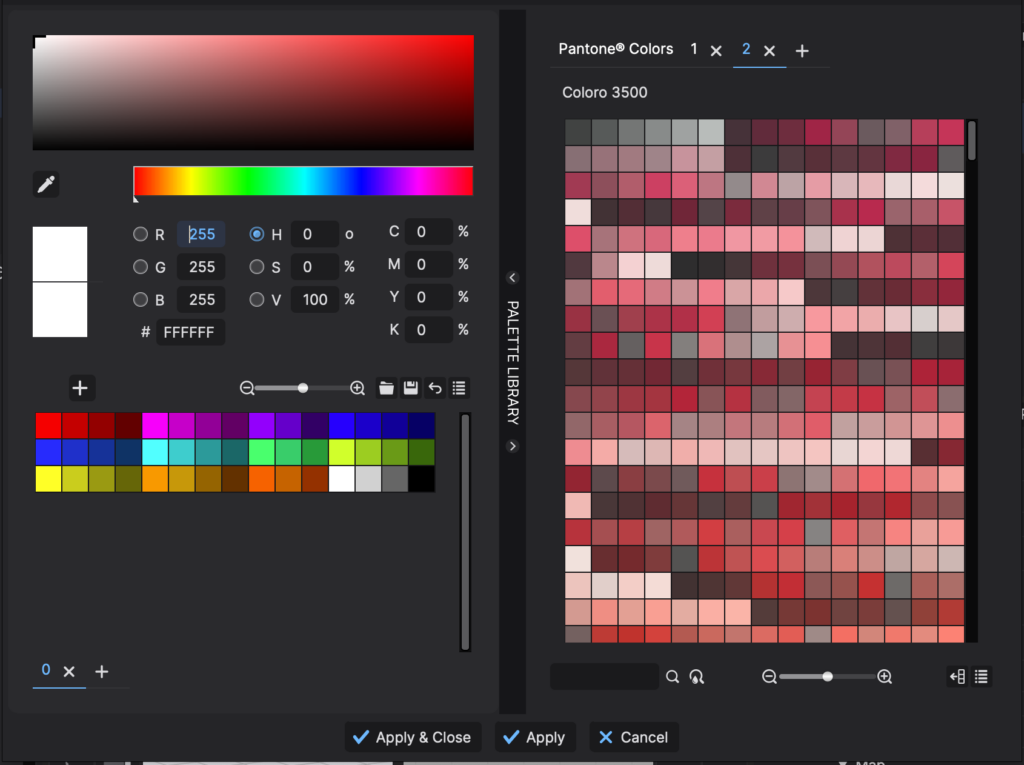
Customization can be applied to default fabrics and offers the standard modification settings that are used in most 3D softwares in which you can model fabrics. The color editor, in which you can customise your fabrics exact color lets you choose either a self determined color value or it lets you pick from exact Pantone color catalogue. This can be useful for translating the garment from digital to analog as Pantone colours are frequently used as references in fabric production and dying processes.
Apart from colours, CLO also allows you to import and apply your own pattern designs and customise various things about it like scale and position. There is also an option for applying graphics to garments, which comes with lots of customisable settings, from normal maps to roughness maps and other modification possibilities. Trims and hardware can also be selected from the CLO preset library or imported as OBJs if they were modelled in a different software.


