After the last Blogpost, where we saw how already existing patterns are placed on the Avatar, this time, we will start drawing patterns from scratch in CLO3D.
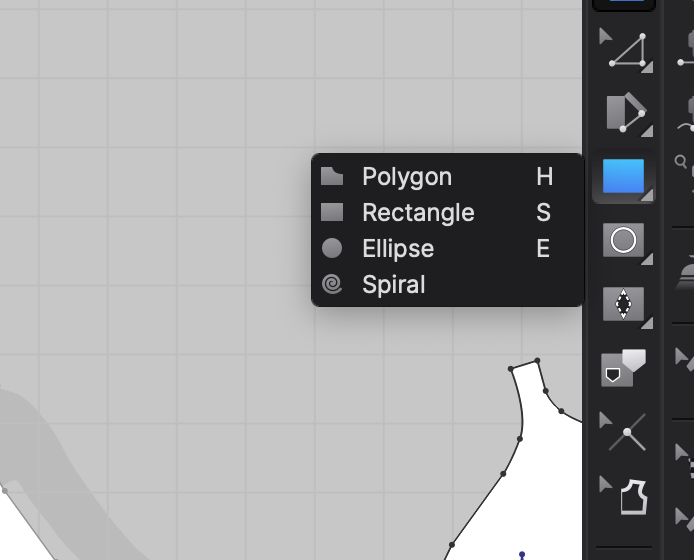
In CLO, if you want to draw a pattern from scratch, you have several drawing tools that are similar to the tools found in programs like Adobe Illustrator, Photoshop or InDesign. The program offers the option of drawing predefined shapes like rectangles or ellipses, or you can draw free shapes.
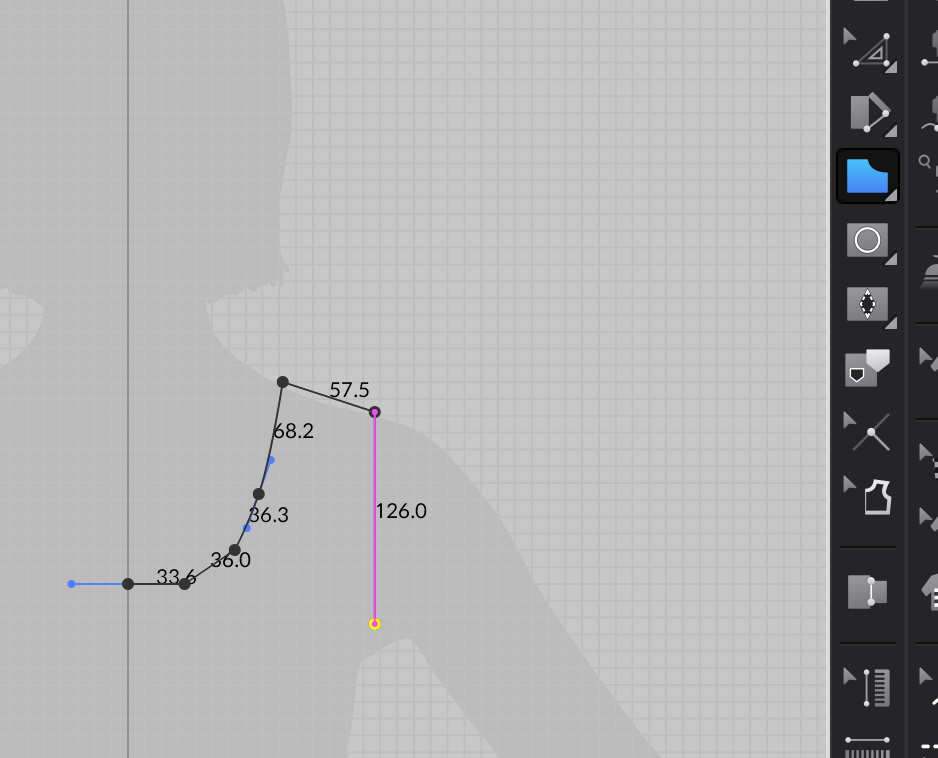
The rectangle tool is the most useful for pattern drafting, as most shapes in standard clothing patterns are developed from rectangular base shapes with curves added to accommodate the shapes of the body. But the free drawing polygon tool is also useful because it with a little practice, you can directly develop the base shape of the pattern piece without making the detour of modifying a rectangle shape. The polygon tool also comes with the function of drawing bezier curves while left-clicking and dragging when drawing the shape. This is useful for users who have previous experience with digital drawing programs but might take some getting used to for users who are not familiar with this mode of drawing yet.
As with all the program’s tools, CLO also offers a wide variety of functions for drawing specific measurements to fit a premeasured shape. In the previous blogpost about pattern development, I talked about how I believe the 2D + 3D layout of CLO would make it easier to understand patterns for users without previous knowledge of sewing and pattern drafting. In this case, I think it might be the opposite case. I believe users without prior pattern drafting knowledge will find the process of developing patterns from shapes or even drawing them free hand very daunting and confusing. Even though CLO has many useful features to make the process easy, I can see how these functions might overwhelm people who are new to the process of pattern drafting.
In the next Blogpost, we will take a look at critical pattern components and pattern modification options.

