The next step was to craft a smooth concrete texture for my object in Blender.
I started by using the noise texture and object coordinates to start with the main texture of the concrete. By adjusting the scale, detail, and dimension of the noise texture, I achieved the desired foundational look.
To add more variety and detail, I introduced a voronoi texture. Mixing this with the noise texture through a Mix RGB node created a more complex and varied concrete surface.
Utilizing color ramps, I adjusted and refined the colors of the concrete material. This allowed me to craft an abstract look, adding a shade of pink to the overall appearance.
Imperfections and cracks were essential for realism. I used distorted voronoi textures, along with rolor ramps and mix RGB nodes, to simulate these features effectively.
The roughness of the material was managed by linking a color ramp to the roughness input of the shader. This setup provided precise control over the material’s shininess, enabling fine-tuning to achieve the perfect roughness level.
To enhance the depth and tactile quality of the concrete, I added bump nodes. By blending musgrave, noise, and voronoi textures, I simulated the appearance of bumps, imperfections, and small rocks embedded within the concrete.
Through these steps, I created a concrete material that I used for the project.

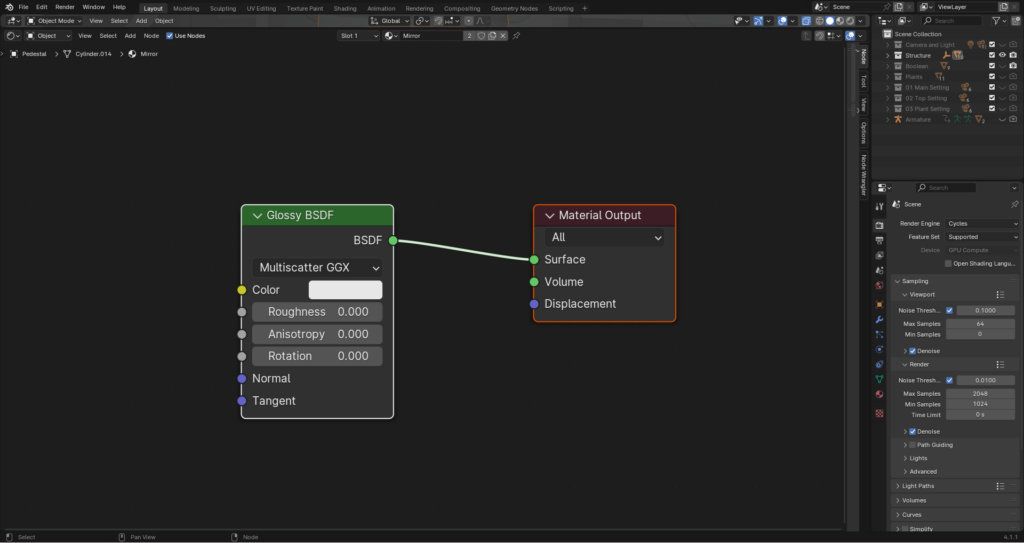
For the mirrors and the pedestal I created a basic mirror texture.

