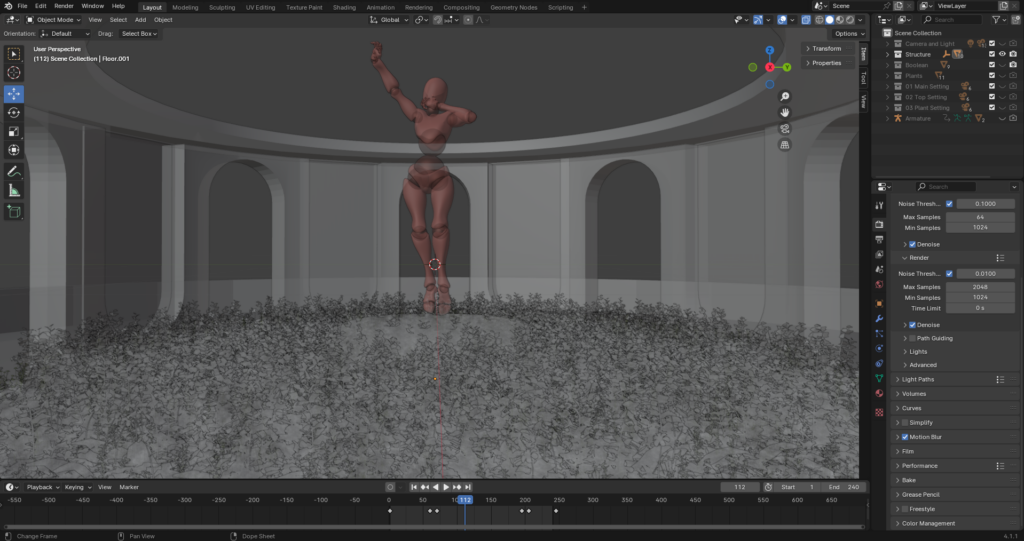
The next step in the scene was to add a figure. I chose to use the default figure from Maxon due to its abstract shape, which added a unique element to the composition. After importing the figure into Blender, I adjusted its scale to fit into the scene.
With the figure in place, I proceeded to animate it. For the animation, I selected the „yawn“ motion from Maxon’s animation library, which provided a natural and fluid movement that added life to the figure. Integrating this animation into Blender, I carefully positioned the figure to create the illusion that it was floating.
Once the animation and positioning were finalized, I focused on the figure’s textures. I wanted a reflective and shiny appearance. To achieve this, I applied a shiny texture to the figure. This texture was designed to reflect light dynamically, particularly the sunlight, enhancing the realism and visual appeal of the animation.

