→ Impulse_06 | Tutorial (TouchDesigner)

For my sixth Impulse, I wanted to try something online. I was hoping to join a free TouchDesigner workshop, but I couldn’t find one that worked with my schedule. Instead, I decided to follow a tutorial to help me with the voice interaction I’m working on for my thesis.

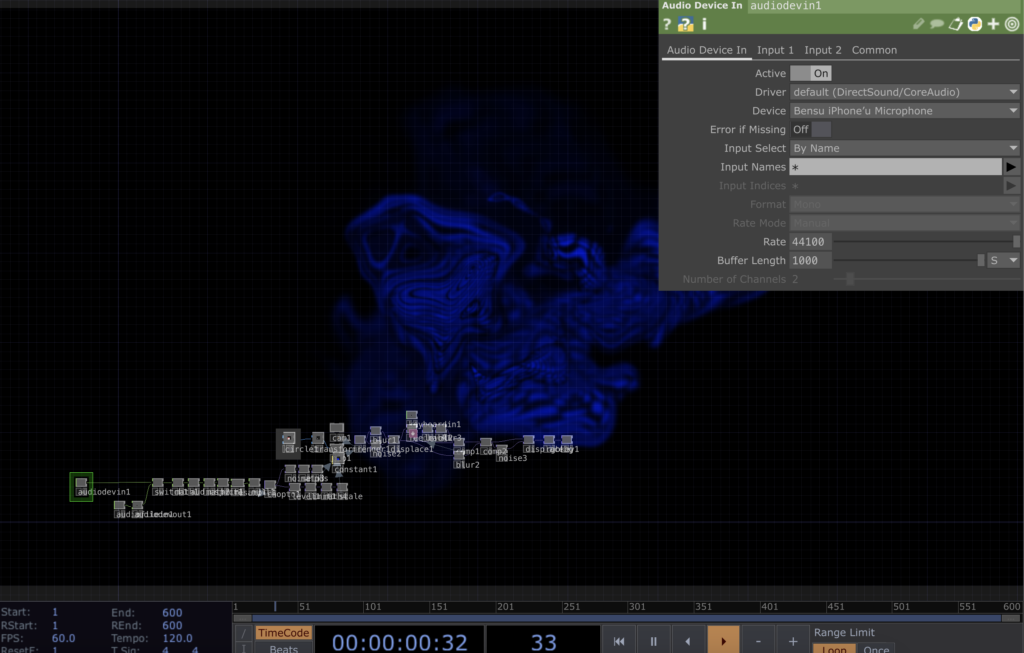
I chose the Abstract Speech Visualisation tutorial by Bileam Tschepe (Elekktronaut). His explanations were easy to follow, and the way he set up the audio interaction was really inspiring. He broke everything down step by step, which made it much easier to understand, especially for someone like me who’s still learning.

I then followed the tutorial and recreated the patch in TouchDesigner. I played around with some of the parameters and experimented with the settings to see how small changes could affect the visuals. It was interesting to see how different audio inputs created various effects, and I had fun testing different combinations. Below is a recording of my experiment with the patch.

  • Audio Analysis in TouchDesigner – The tutorial showed how to break down audio into frequencies and amplitudes. This was very useful for understanding how sound can control visual elements.
  • Creating Dynamic Visuals: I learned how to use particle systems and shapes to make visuals that respond directly to sound.
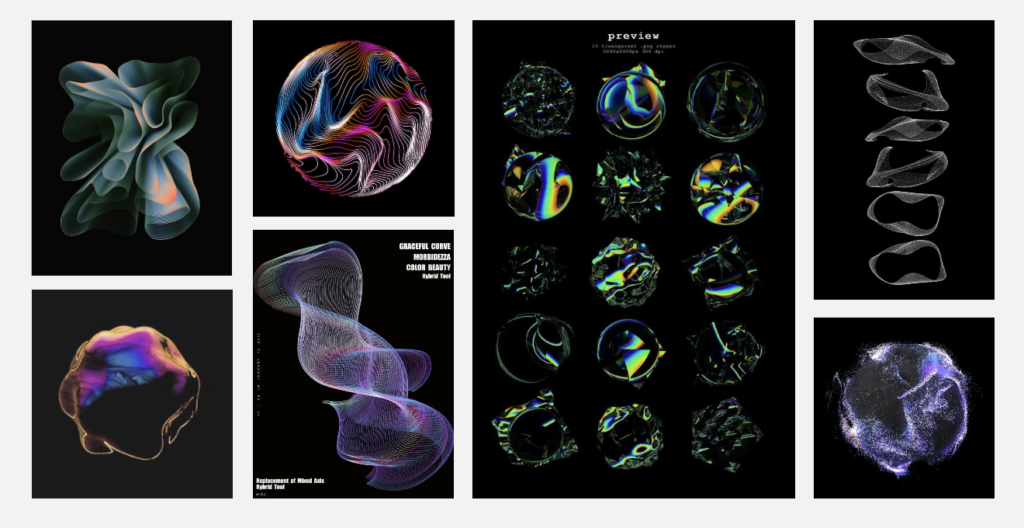
  • Visualizing a language in a new way, like the Heptapod logograms, can make us question our usual way of thinking about communication.

So this tutorial helped me to practice TouchDesigner to create visuals that react to voice and sound better. Also, it is very important for my thesis, as I’m trying to visualize the unique characteristics of different languages.

→ Watch the Tutorial: Abstract Speech Visualisation by Bileam Tschepe
→ Learn more about TouchDesigner: TouchDesigner Official Website

🟦 06_First Testing with AI

After making the visuals audio-reactive with alphabet audios, I used AI to see if there were any noticeable changes when it comes to words and sentences.

I wanted to test phrases like „hello“ and „how are you?“ in various languages like: German, English, Turkish, Russian, Hindi, and Chinese. Unfortunately, the AI tools I found were either not free or had limited trials, so I didn’t have many options. I chose one AI voice tool and one voice actor for each sentence in the different languages.

Prompts for AI

  • English: „Hello, how are you?“
  • German: „Hallo, wie geht’s?“
  • Turkish: „Merhaba, nasılsın?“
  • Russian: „Привет, как дела?“ (Privet, kak dela?)
  • Chinese (Mandarin): 你好,你好吗?(Nǐ hǎo, nǐ hǎo ma?)
  • Hindi: „नमस्ते, आप कैसे हैं?“ (Namaste, aap kaise hain?)

And here are few examples of visualization „Hello, how are you?“ :

Turkish: „Merhaba, nasılsın?“
German: „Hallo, wie geht’s?“
Chinese (Mandarin): 你好,你好吗?(Nǐ hǎo, nǐ hǎo ma?)

It was kind of hard to realize the differences between languages just by looking at the visuals. However, the process was very interesting for me. I could see subtle variations in the patterns and reactions of the visuals to different sounds.

Next Step

In the next steps, I will analyze the outcomes in more detail. I want to see if I can pinpoint specific differences and understand how each language influences the visuals.

🟦 05_Audio Reactivity

I am still experimenting the visuals but now, I will share how I made them audio-reactive in TouchDesigner.

I followed a tutorial and then downloaded Turkish and German alphabet audios to see how the visuals change with different letters. By working with individual letters, I can easily extend this to words and sentences later.

First Visual – Audio Reactive

I tried to make the first visual audio-reactive. I think this one fits best because it looks like an audio wave and a weird mouth. The lines are clear, so I can record or take screenshots of each letter. This clarity can help in analyzing it.

Applying Audio Reactivity to Other Visuals

After figuring out how to make the first visual audio-reactive, I applied the same process to the other visuals. Here are the results:

Next Step

I think I will go with the mirrored first visual. My next step is to use an AI voice and see how it looks with words and sentences. I’m excited to see how these visuals evolve and become more refined as I continue experimenting.

🟦 03_Diving into TouchDesigner

After deciding on my topic, I gathered some tutorials from YouTube to help with my data visualization project. I aimed to create something using lines so I could showcase the differences between various languages.

Moodboard for visualization

I believe using line shapes will effectively highlight the audio differences between different language inputs. Lines also have a clean, aesthetic look that I think will result in a visually appealing project. However, with my limited knowledge in TouchDesigner, I am not sure if I can achieve the exact outcome I envision. Therefore, I will experiment with some tutorials and see which ones work best. I’m really excited to dive into TouchDesigner and learn more!

First Attempt – Successful!

I followed this tutorial and found the beginning challenging because it focused on making the project audio-reactive from the start. My first step, however, was to create the visual aspect. The initial outcome didn’t quite meet my expectations as it resulted in a line that moved randomly. Randomness might not be ideal for my project since I want to compare different letters clearly.

Above, you can see my initial outcome. With some modifications and added audio reactivity, it might work for the prototype phase. I’m satisfied with the progress so far, but I plan to either refine this outcome further or try other tutorials. I believe having multiple visualization options will be beneficial during the testing phase.

Next Step

I will continue working through more tutorials, focusing on making the visualizations audio-reactive. Then, I’ll choose the one that fits the best! My goal is to create a dynamic, clear and aesthetic visualization that shows the differences between various languages through their audio characteristics.